
This article describes how users with the roles of Account Manager, (Workspace) Manager, and Lead can set up and use groups in Zendesk QA to organize users based on organizational structure, language, or skill sets.
This article contains the following topics:
- Setting up groups
- Adding users to a group in bulk
- Archiving or deleting groups
- Viewing groups in dashboards
- Viewing groups using conversation filters
Related articles
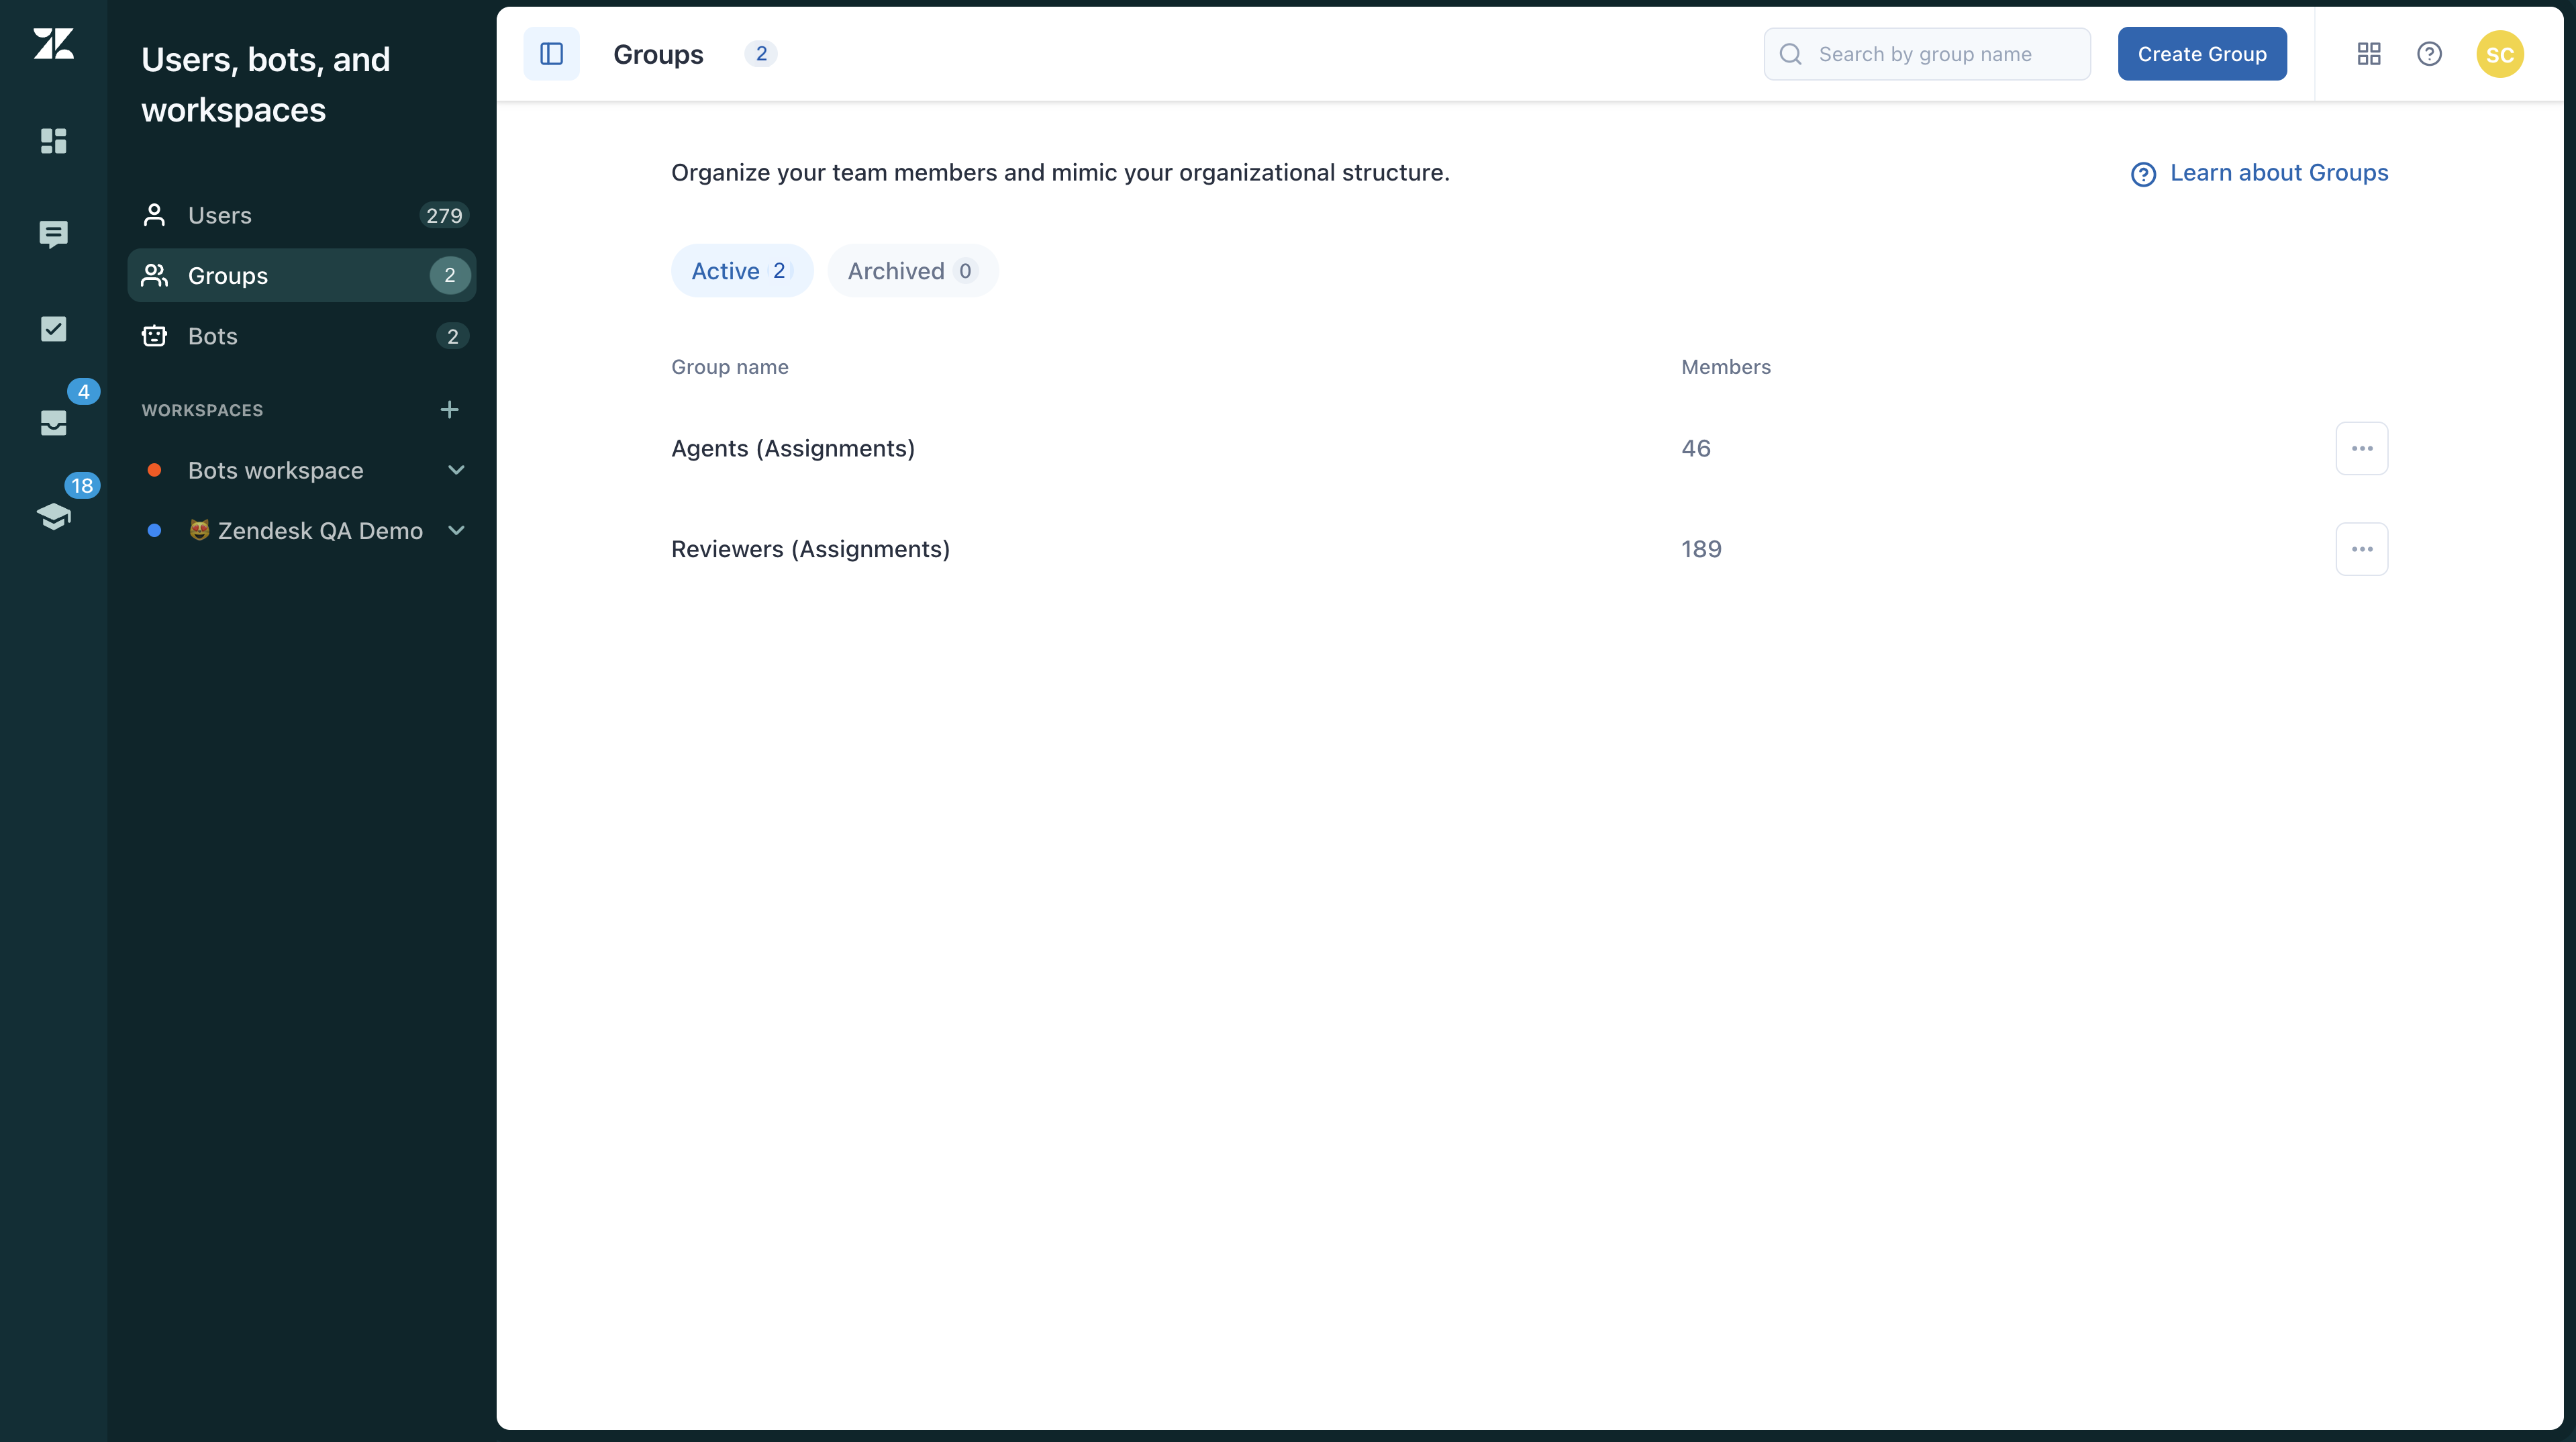
Setting up groups
To organize users by organizational structure, language, skill sets, or other criteria, create a new group or edit an existing one.
- In Quality Assurance, click your profile icon in the top-right corner.
- Select Users, bots, and workspaces.
- Click Groups.
- Click Create group.
- Enter a Group name. Note that all group names need to be unique.
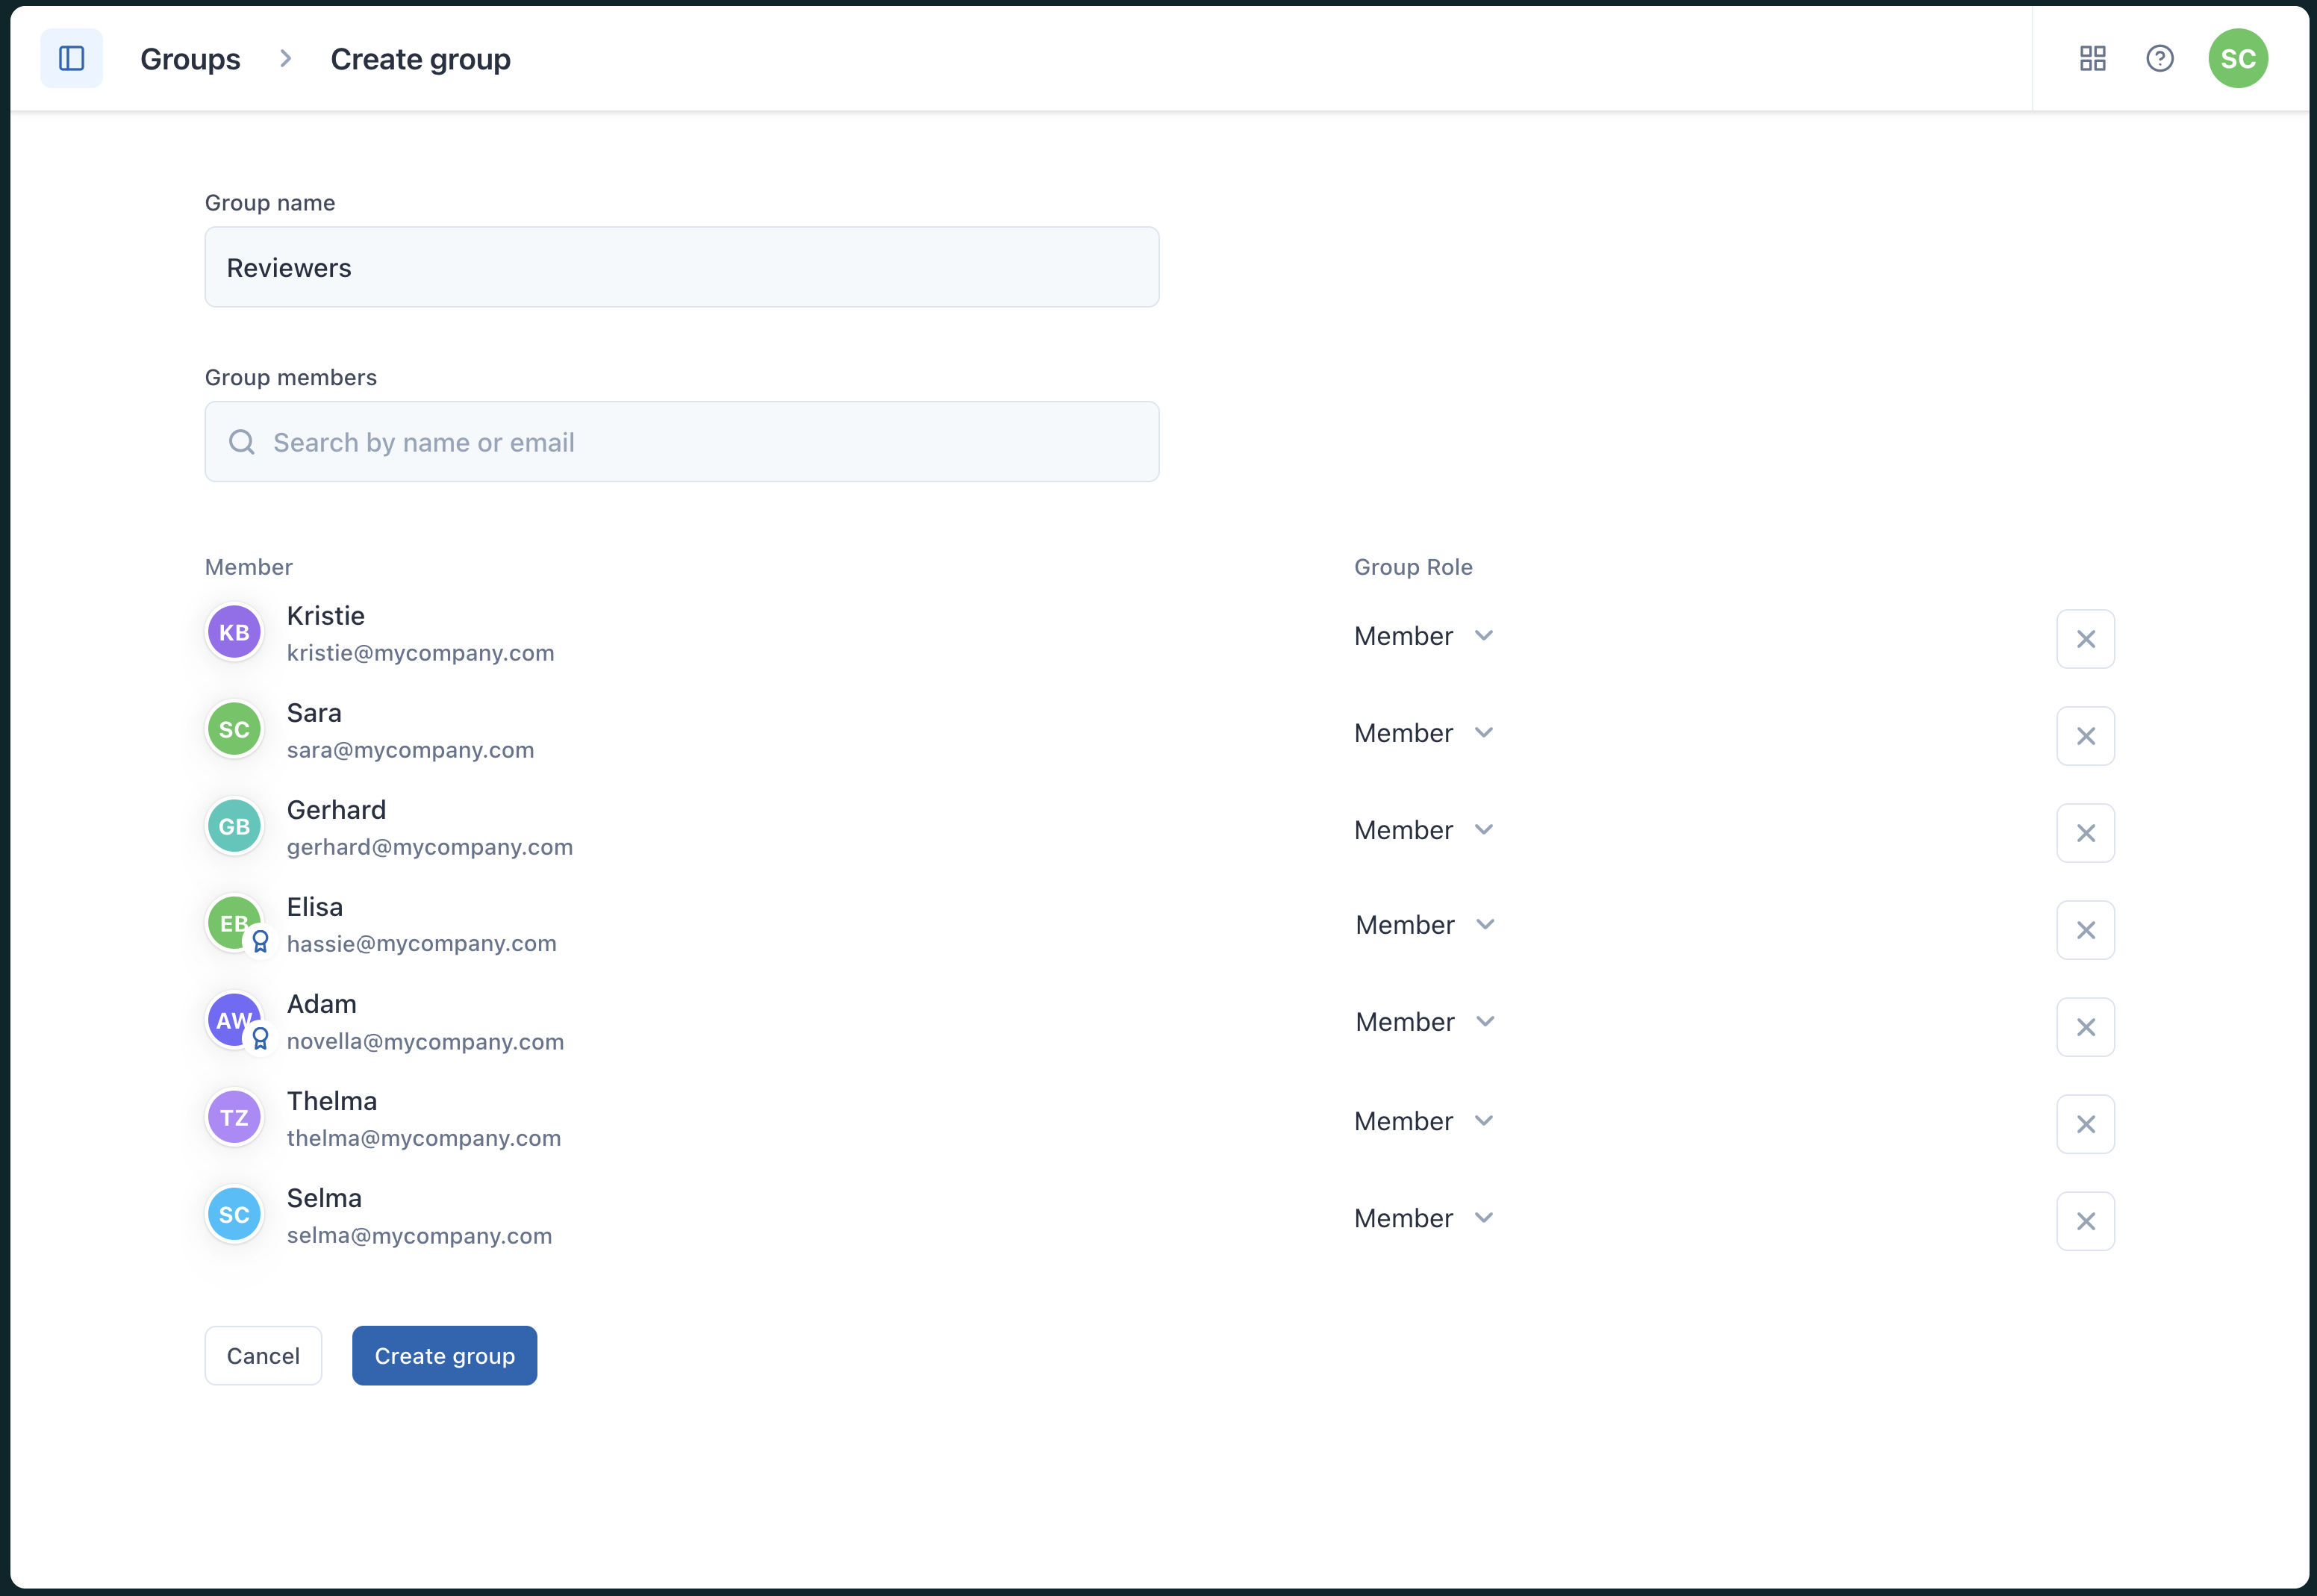
- Add Group members. Start typing the member name to autocomplete or select it from the drop-down menu.
- Click Create group.
To edit a group
- In Quality Assurance, click your profile icon in the top-right corner.
- Select Users, bots, and workspaces.
- Click Groups.
- Click the name of the group you want to edit.
- Make your changes.
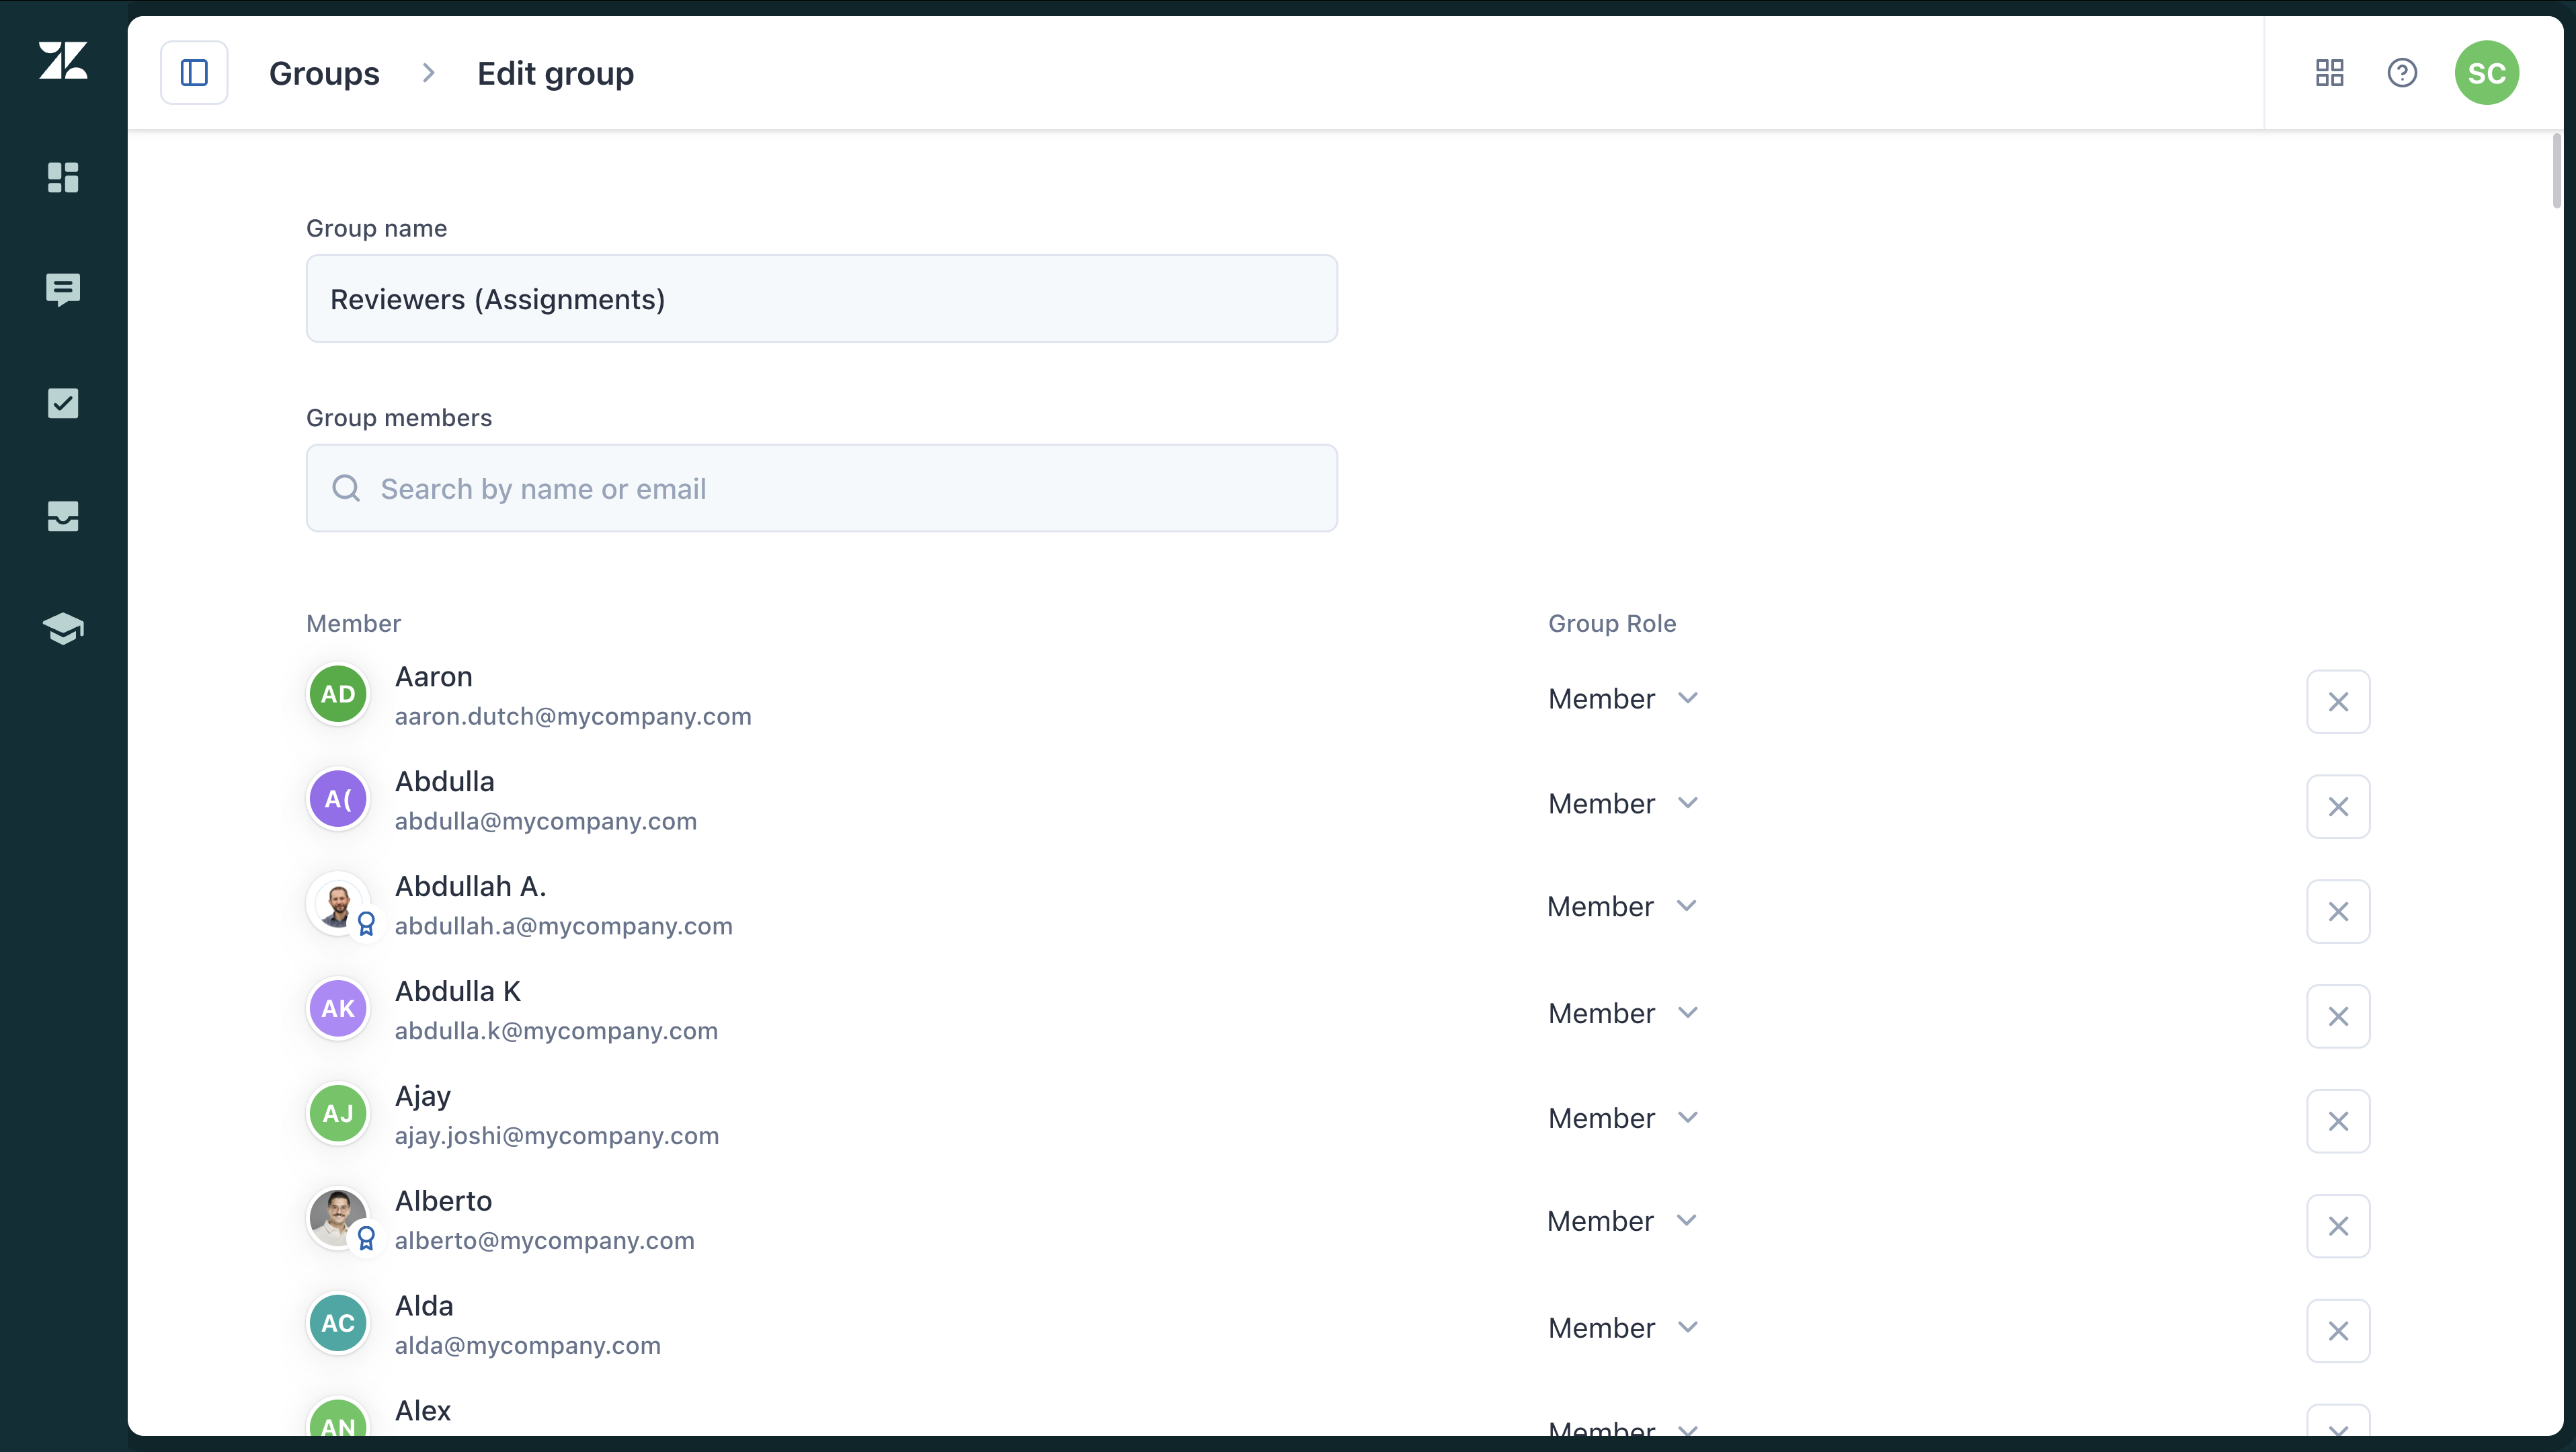
You can edit the group name, add new members, or remove members by clicking the X.
- Click Save changes.
Adding users to a group in bulk
Users with Admin, Account Manager, and (Workspace) Manager roles have access to the Users page for managing account and workspace users, allowing them to perform bulk actions such as adding and removing users from groups.
Archiving or deleting groups
You can archive a group to make it no longer visible, with the option to restore it later. Alternatively, you can permanently delete a group.
- In Quality Assurance, click your profile icon in the top-right corner.
- Select Users, bots, and workspaces.
- Click Groups.
- Next to the group you want to archive, click the options menu (
 ) and select Archive.
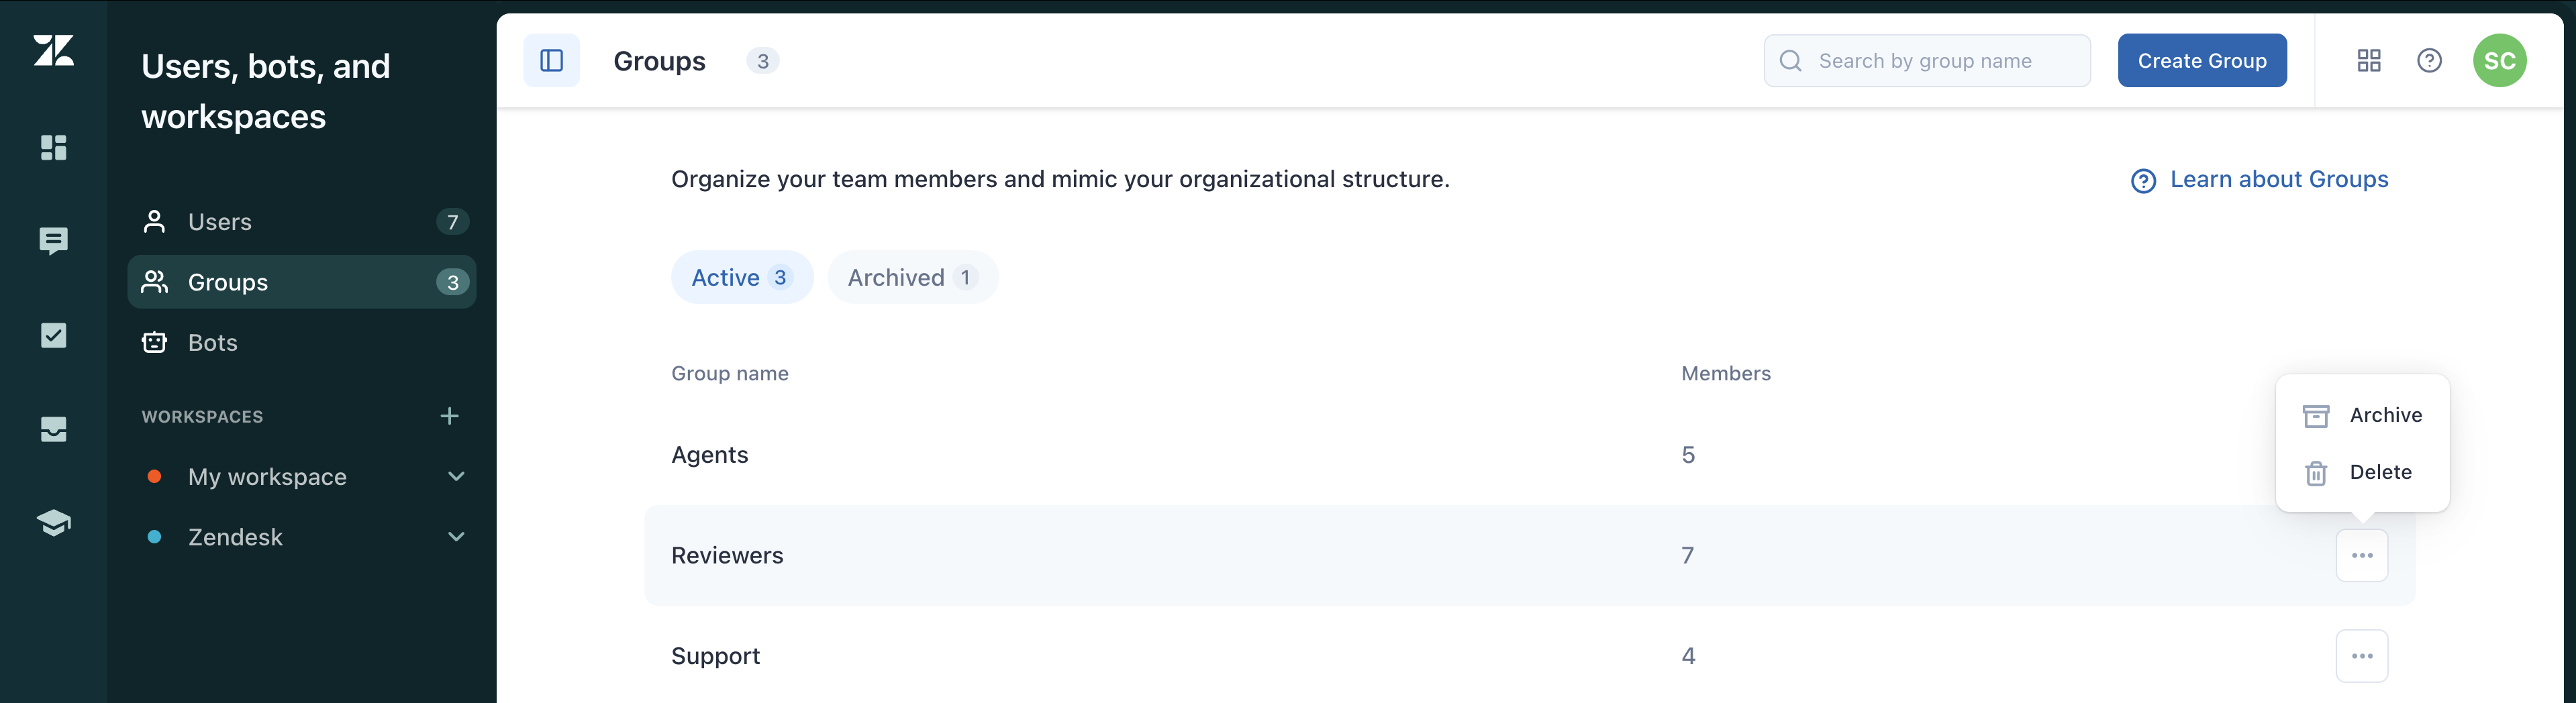
The group is moved to the Archived tab and can be restored when needed.
To delete a group
- In Quality Assurance, click your profile icon in the top-right corner.
- Select Users, bots, and workspaces.
- Click Groups.
- Next to the group you want to delete, click the options menu () and select Delete.
- Confirm your choice and click Delete group.
To restore a group
- In Quality Assurance, click your profile icon in the top-right corner.
- Select Users, bots, and workspaces.
- Click Groups.
- Click Archived.
- Next to the group you want to reactivate click Restore.
The group is restored and moved to the Active tab again.
Viewing groups in dashboards
Using groups helps you understand how your teams compare to each other or to the organization as a whole.
The filtering logic begins with the Workspace filter. When specific workspaces are selected, only groups related to users from those workspaces will be displayed.
Groups are available in the following dashboards:
Viewing groups using conversation filters
You can use groups in your conversations filters to find more insightful conversations to review.
Group selection is available in the following filter categories:
- Conversation groups
- Assignee
- Public participant
- Participant
- Reviewee
- Reviewed by
When you select a group under Conversations, the filter identifies users from that group and displays conversations where any of these users have been an assignee, reviewee, or participant.
You can choose between predefined groups created by Zendesk QA (Signed-in person, Workspace members, and Former workspace members) and your custom groups.
Zendesk QA groups are dynamic—when users are added or removed, the filter results update automatically.
0 comments
Please sign in to leave a comment.