
Multiple workspaces can support teams conducting various types of conversation reviews for the same agents. You can perform peer reviews alongside manager reviews, self-reviews with manager reviews, and both reactive reviews (such as those addressing long response times and low CSAT scores), and proactive reviews, which may involve randomly selected conversations.
This article contains the following topics:
Related articles
Understanding workspaces in Zendesk QA
Users are assigned to the account default workspace when added to Zendesk QA. However, they can work in different workspaces.
You can review conversations using the same criteria for all users, or if your business has multiple departments—such as Support, Sales, and Customer Success—you can create separate workspaces to organize these instances. See Deciding on one or multiple workspaces.
Admins and Account Managers can create new workspaces and manage settings for all workspaces. (Workspace) Managers can configure settings for the workspaces they manage. See Understanding roles and permissions in Zendesk QA.
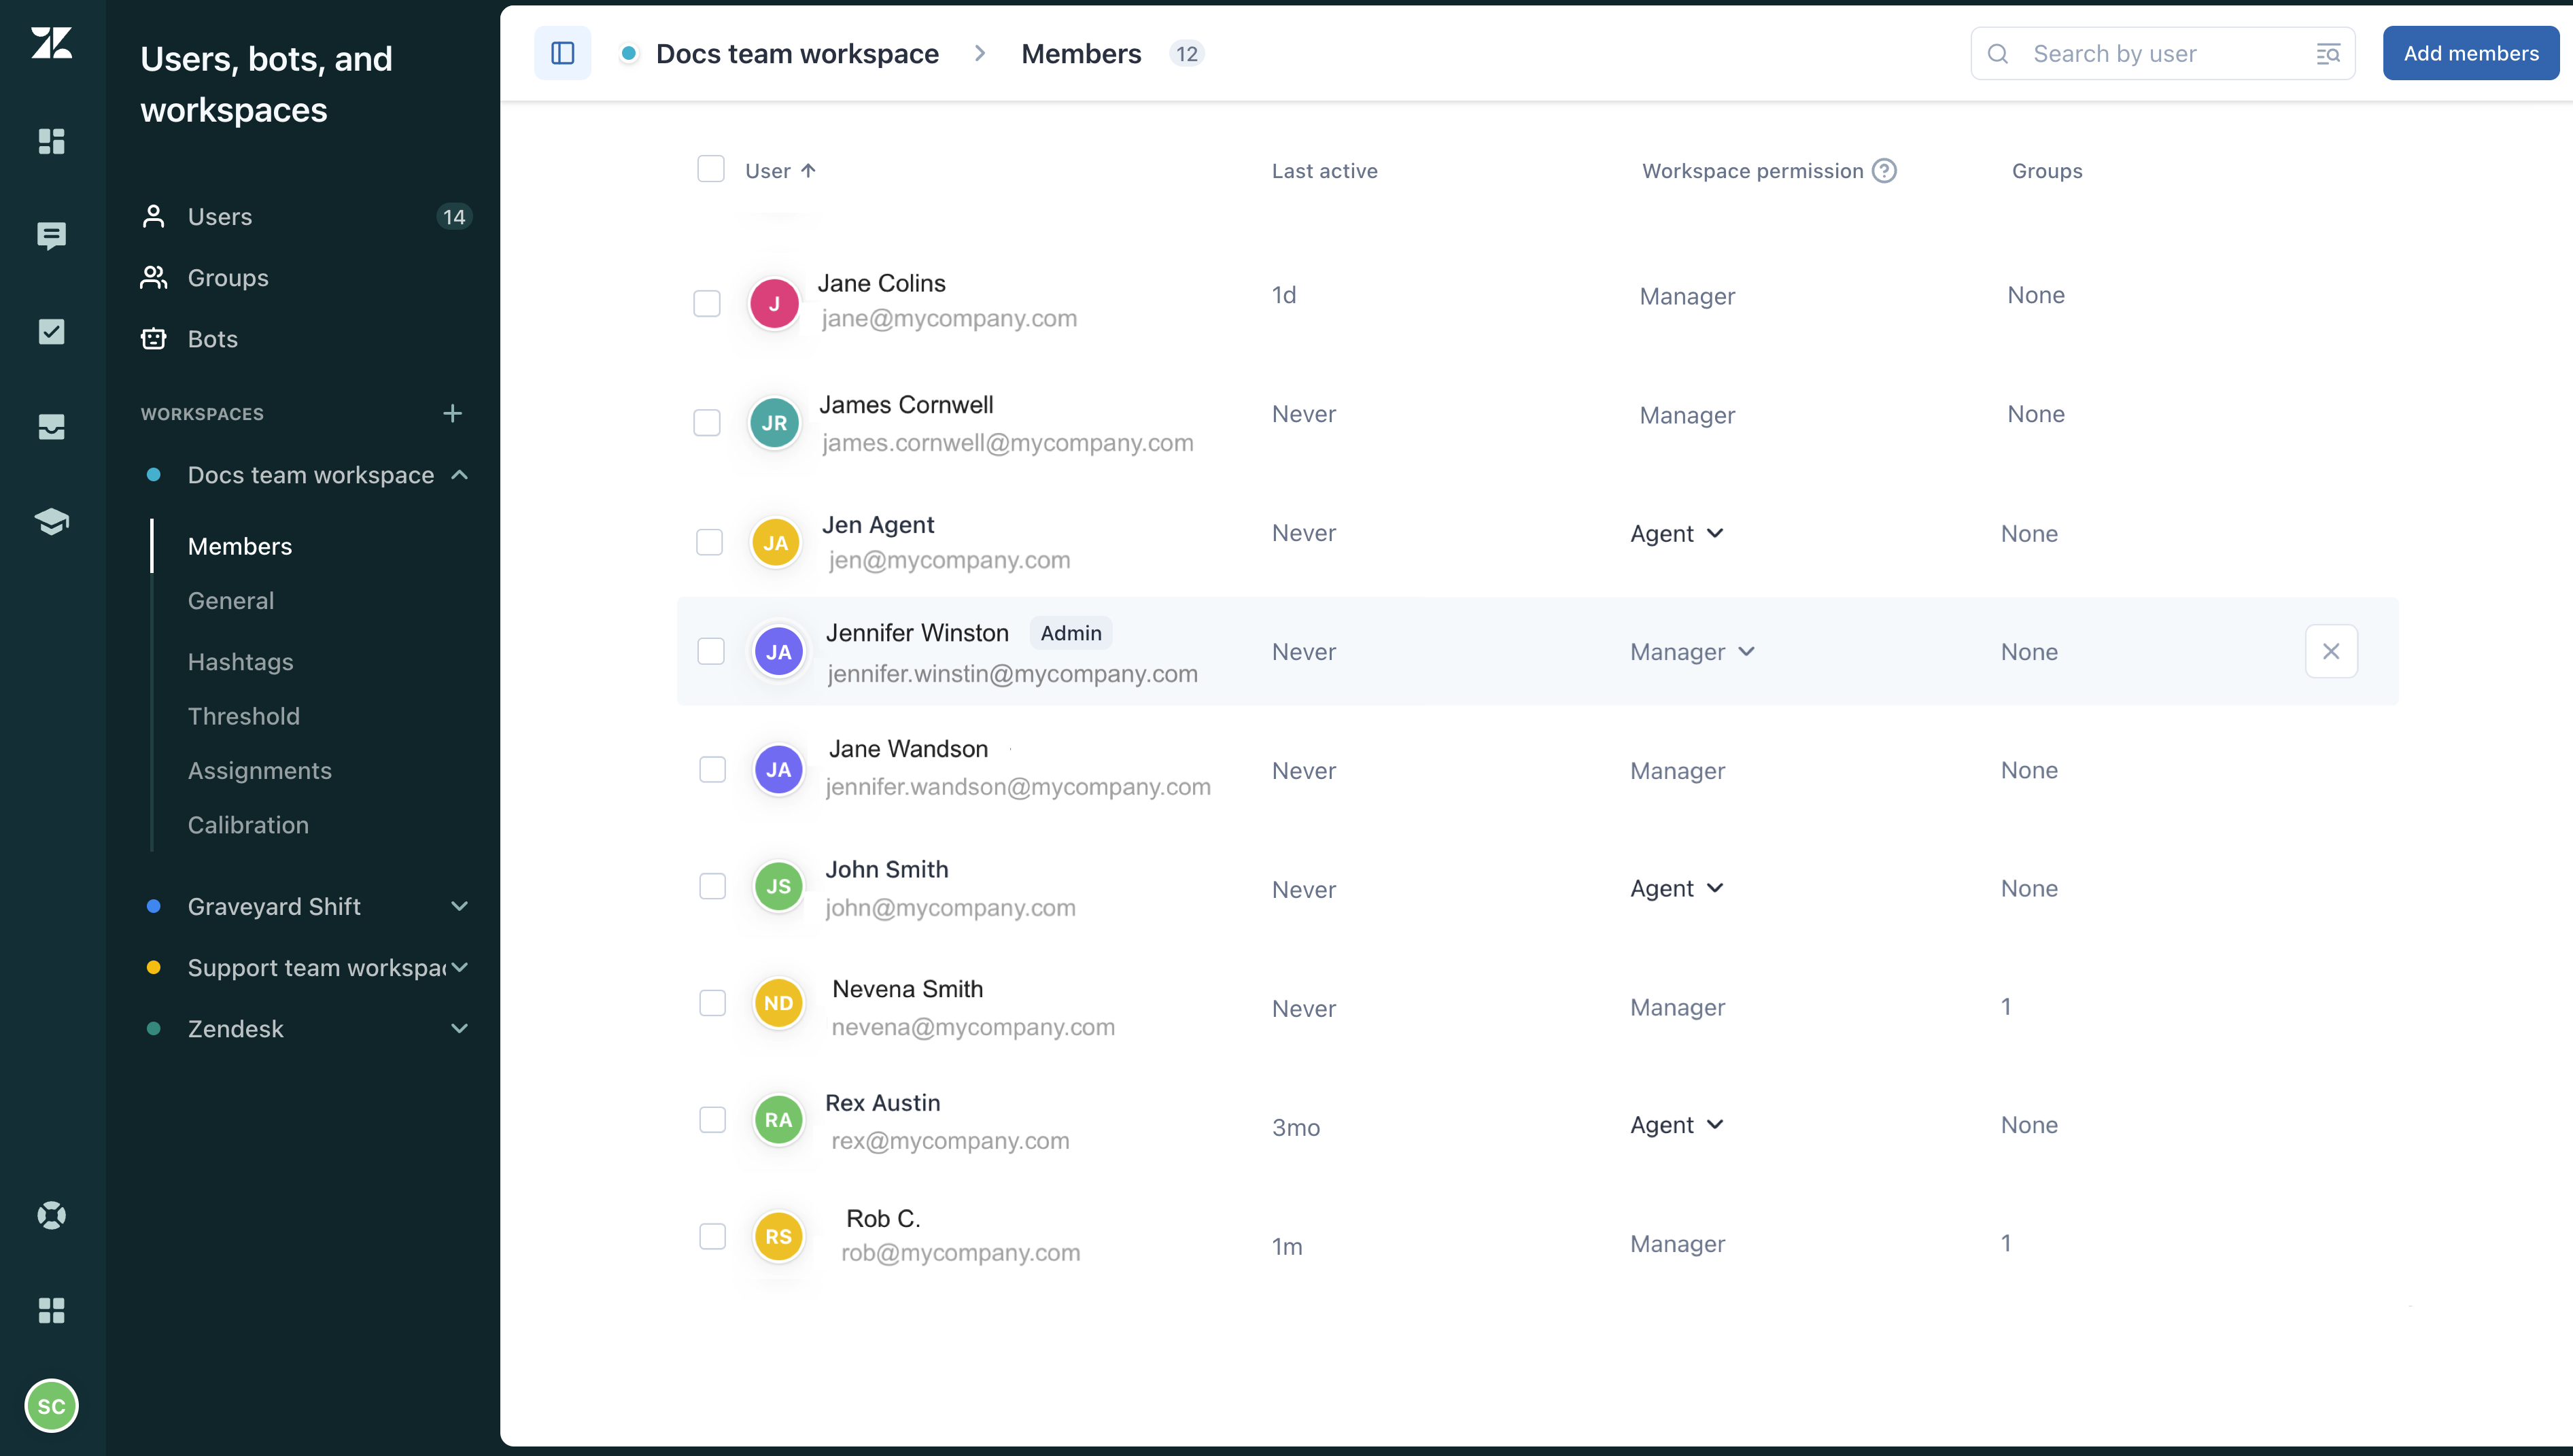
The following settings can be configured inside each workspace:
- Members: Add or remove users from the workspace and change their roles for that workspace. See Managing workspace members.
- General: Set or edit the workspace name and representative color, toggle unbiased grading and self-reviews on or off, and select the default reviewee. You can also delete the workspace here. See Managing workspace’s general settings.
- Hashtags: Manage custom hashtags and track their usage. See Adding custom hashtags to Zendesk QA comments.
- Threshold: Set the overall QA goal for the workspace. Scores below the threshold will appear in red, while scores above it will appear in green. See Setting a performance reporting threshold in Zendesk QA.
- Assignments: Set up automatic assignment of conversations based on specific conditions. See Setting up assignments in Zendesk QA.
- Calibration: Ensure consistent feedback by having reviewers rate the same conversations and compare their evaluations. See Setting up calibration in Zendesk QA.
Creating workspaces
Admins and Account Managers can create new workspaces.
To create a new workspace
- In Zendesk QA, click your profile icon in the top-right corner.
- Select Users, bots, and workspaces.
- Click the plus icon (+) next to Workspaces to create a new workspace.
- Enter a unique name for the workspace.
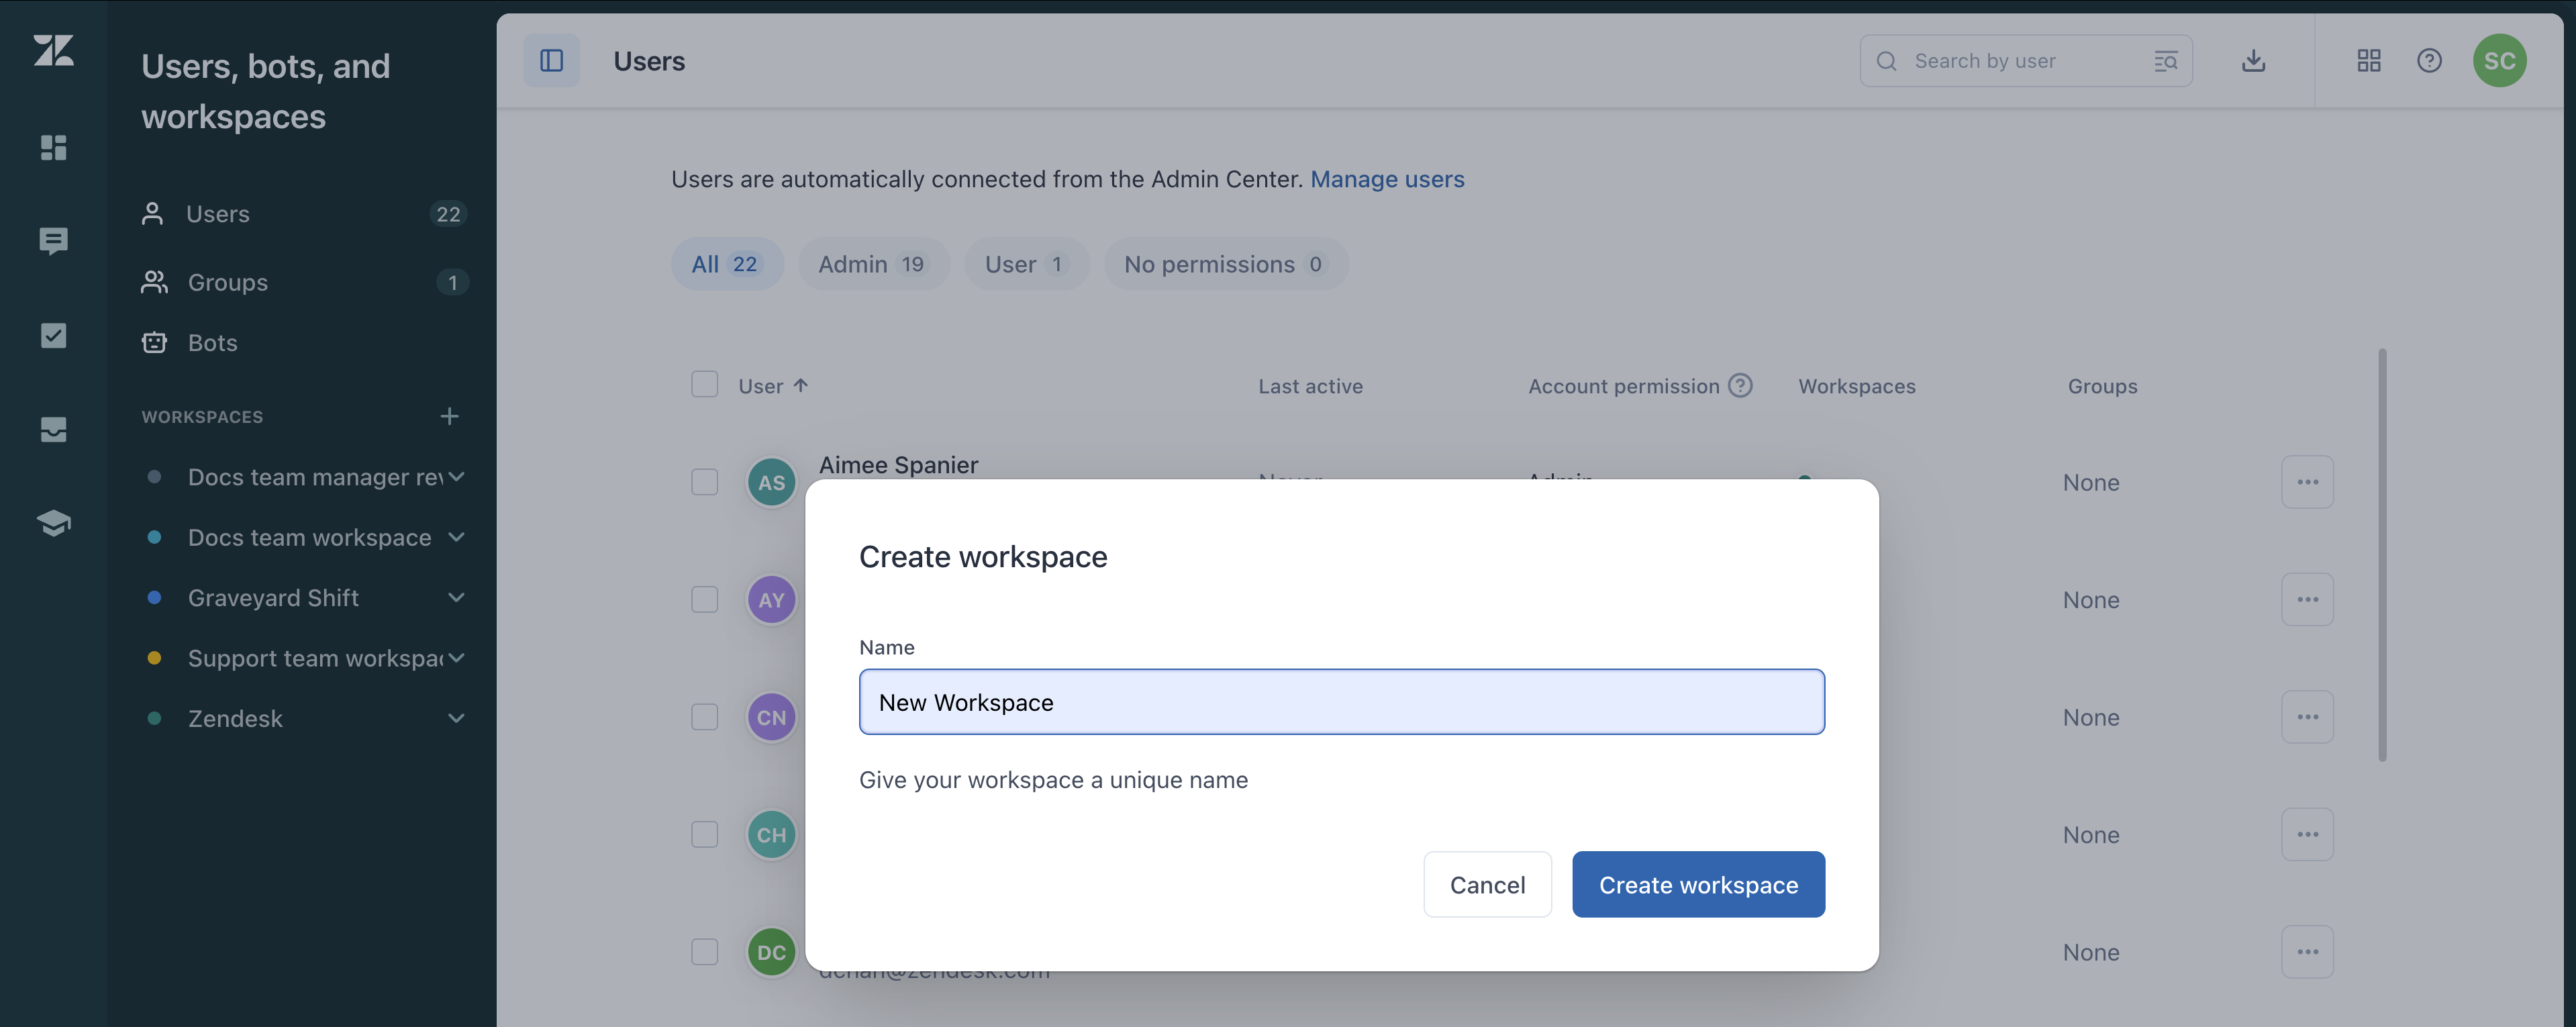
- Click Create workspace.
0 comments
Please sign in to leave a comment.