
As a reviewer, you can use Zendesk QA to provide feedback to agents through scores and comments. Additionally, you can analyze their performance using Dashboards.
Admins, account managers, managers and reviewers can review conversations in Zendesk QA.
This article contains the following topics:
- Managing your settings
- Filtering conversations
- Grading conversations
- Leaving scores
- Leaving comments
- Checking your activity
- Analyzing performance in the Dashboard
Related articles
Managing your settings
Your personal settings allow you to customize your Zendesk QA experience. You can view or update preferences such as your week's start day, the number of conversations you aim to review each day, week, or month, and how often you want to receive feedback notifications. Additionally, you can create comment templates to streamline your reviewing, item pinning, and coaching processes.
Filtering conversations
As a reviewer, you’ll spend most of your time in the Conversations view, where you can leave feedback for agents and score their work.

The sidebar on the left displays a Filters section to help you quickly find the right conversations to review. You can choose an existing filter or create a new one. Filters can be public—visible to your entire team—or private, visible only to you.
Additionally, you can customize how conversations are displayed and select which assigned conversations you want to view.
Grading conversations
You can provide feedback on either the entire conversation or on specific messages within it. Reviewing specific messages is especially useful when multiple agents are involved or when you want to address particular parts of the conversation.
When reviewing the entire conversation, the score is assigned to the assignee. In contrast, when reviewing a specific message, the score is attributed to the author of that message.
To review a conversation
- In Quality Assurance, click
 Conversations in the sidebar.
 - Click the Sidebar toggle icon (
 ) to display the side menu.
 - Use the filters to select the conversation you want to review.
- Click Review.

- Select a Scorecard.
-
Assign your rating for the conversation or click a specific message to review it.
When you select specific messages in a conversation, the assignee automatically updates. You can also change the Reviewee name if you wish to evaluate a different agent for that conversation or message.
- (Optional) Enter a root cause.
- Leave your comments.
- Click Submit.
Leaving scores
The most important part of being a reviewer is leaving scores and comments.
Select the most relevant scorecard for the conversation you are reviewing. You may need to choose between multiple scorecards based on teams, channels, or languages.
Zendesk QA offers different rating scales, but the logic is the same: choose a score or select N/A for each category, if this option is enabled in the scorecards' account settings. After scoring, you can leave your comments.
Leaving comments
In the comment section you can add custom hashtags and mention other users by using @. This sends them a notification so that they look at the conversation.
Once you've added your scores, comments, hashtags, and mentions, submit the review to the agent by clicking the Submit button or by pressing Ctrl + Enter.
Checking your activity
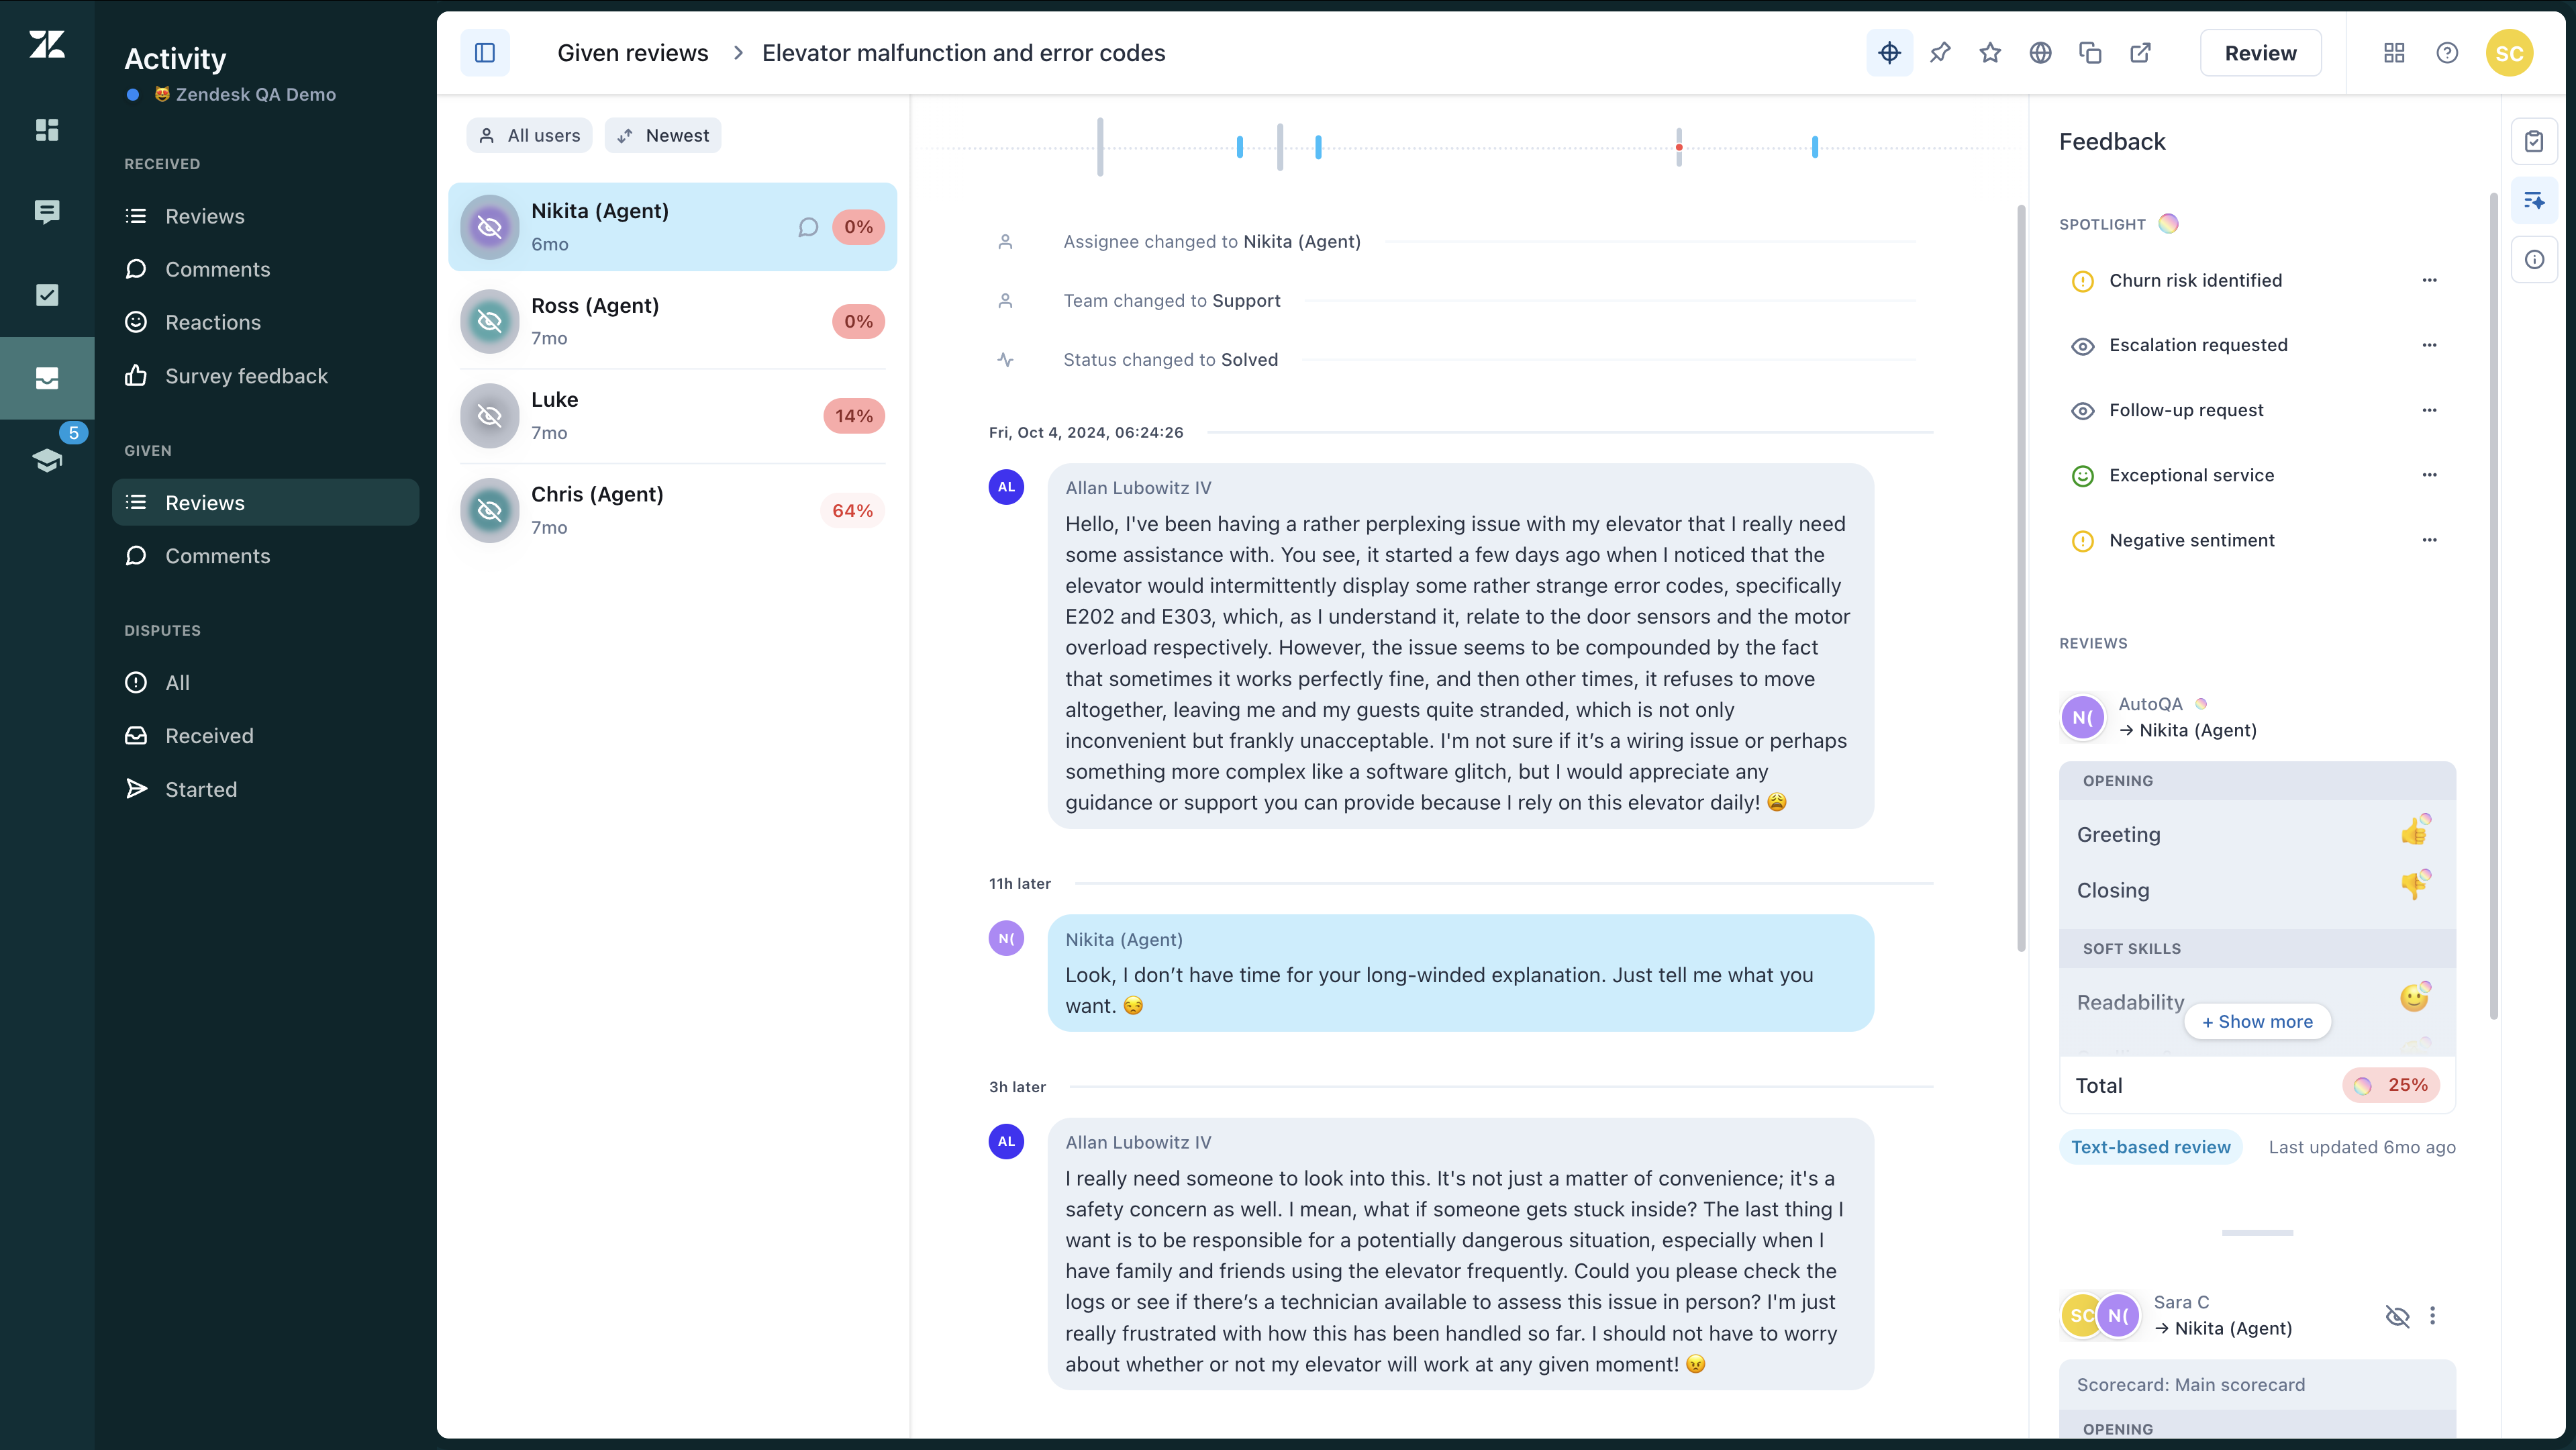
The Activity page lets you view the reviews, ratings, and comments you have given.
If your team conducts peer reviews, you can also view the reviews you have received here. This includes feedback, comments, and ratings left by others. Additionally, you can see survey feedback (CSAT or CES) and reactions to reviews or replies. See Understanding received reviews.
To access your given reviews and comments
- In Quality Assurance, click
 Activity in the sidebar.
 - Click the Sidebar toggle icon () to display the side menu.
- Under Given, click Reviews to access the conversations you've reviewed and view the scores you've assigned.
- (Optional) Click Comments to view the comments you've left after reviewing those conversations.
Agents can reply to reviewers' feedback. When they do, reviewers receive notifications according to the type and frequency set in their notification preferences.
You can find agents’ comments on your reviews under Disputes, where you can reply as needed.
To access your disputes
- In Quality Assurance, click Activity in the sidebar.
- Click the Sidebar toggle icon () to display the side menu.
- Under Disputes, click All, Received or Started to access all disputes you're involved in, view only your received disputes, or see only the peer reviews you have disputed.
- (Optional) You can Reject or Accept the disputes you have received and provide a new review and comments.
Analyzing performance in the Dashboard
Dashboards provide an overview of your workspace performance, allowing you to analyze scorecard results by group and category, and view all reviewed conversations. They also allow you to assess individual agent performance.
Start by selecting the type of data you want to view: feedback your agents (or reviewees) have received, or feedback reviewers have provided. See Understanding Dashboard Filters.
0 comments
Please sign in to leave a comment.