
Verified AI summary ◀▼
Get started with your trial by using the Zendesk setup wizard to configure basic features. Customize your email footer, add an optional auto-response, and invite team members. Connect your support email through various options like Gmail, Microsoft Exchange, or email forwarding.
To help you get started with Zendesk Suite, Zendesk provides you with a setup wizard. Use this wizard to set up basic features in your account.
Setup tasks include:
Starting the setup wizard
Zendesk provides free trail accounts you can use to test drive Zendesk Suite.
To start a Zendesk Suite trial
- Open Zendesk home and select Try for free.
You can also start a trial by selecting Free trial on the Zendesk pricing page.
When you start your trail, you’ll receive an email message asking you to verify your account.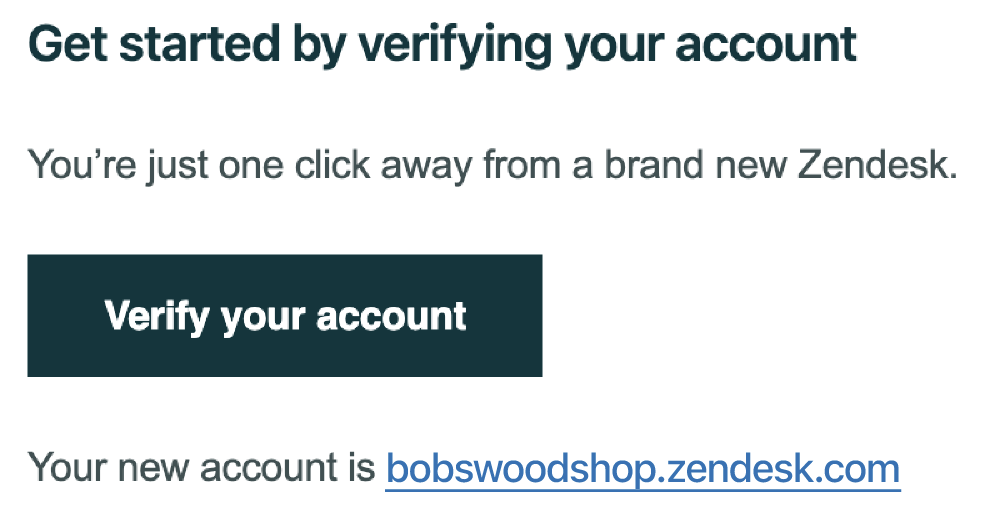
- In the email, click Verify your account.
A Welcome message appears.
- Click Let’s go to start your setup.

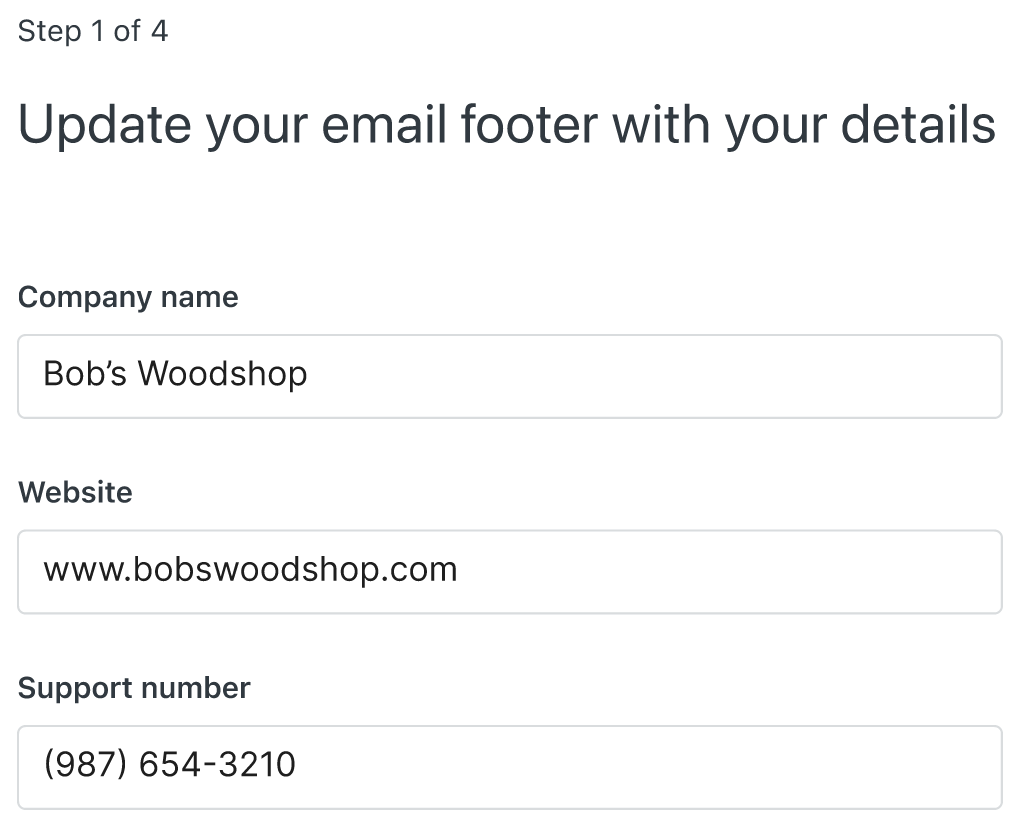
Step 1: Update your email footer
Customize the information included in your emails to customers so they always know how to reach you. To learn more, see Customizing your email notifications.
To customize your email footer
- Enter your Company name, Website, and Support number.
Customers see these details when you send them email messages from Zendesk.
- Click Next to continue the setup.
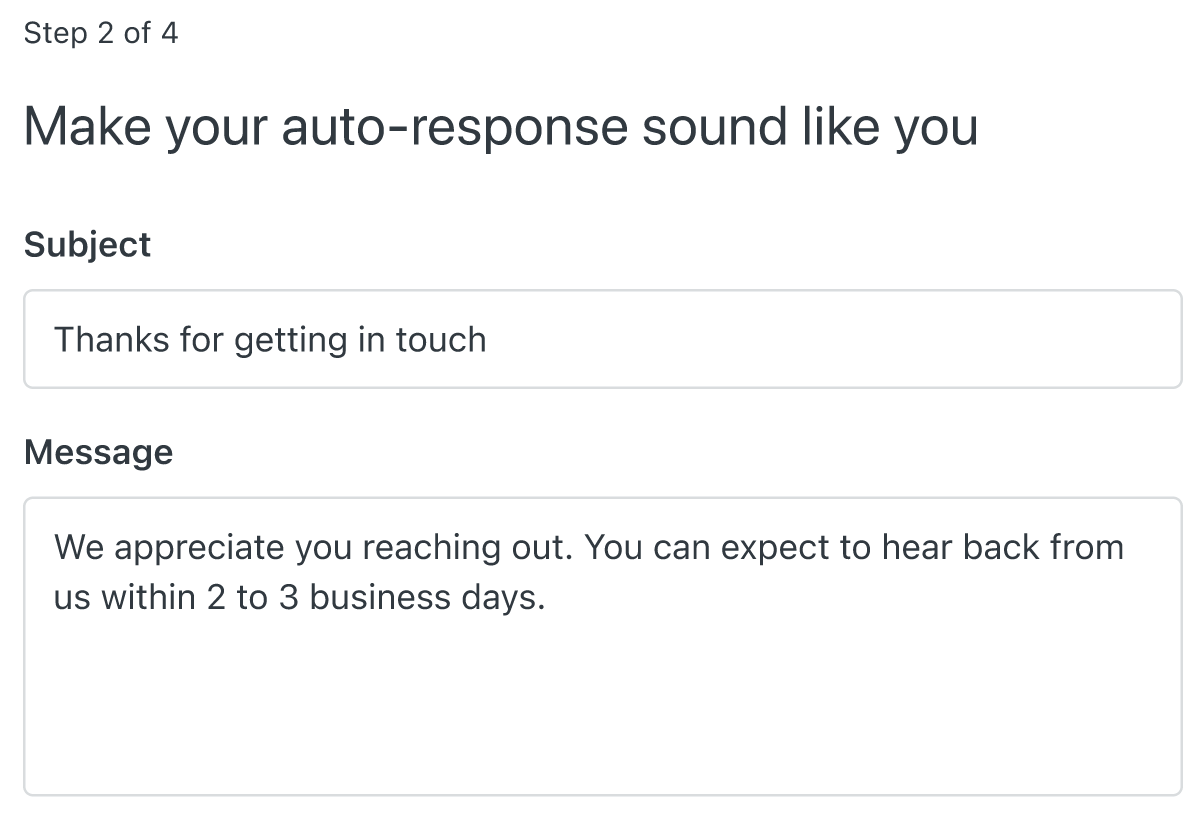
Step 2: Add an auto-response (optional)
It’s helpful to let your customers know that you have received their support requests and when they’ll hear back from you. You can automate this acknowledgement or skip this step.
To add an auto-response
- Click Let’s do it.
- Customize your auto-response email message by adding a Subject and a Message.
- Click Next to continue the setup.
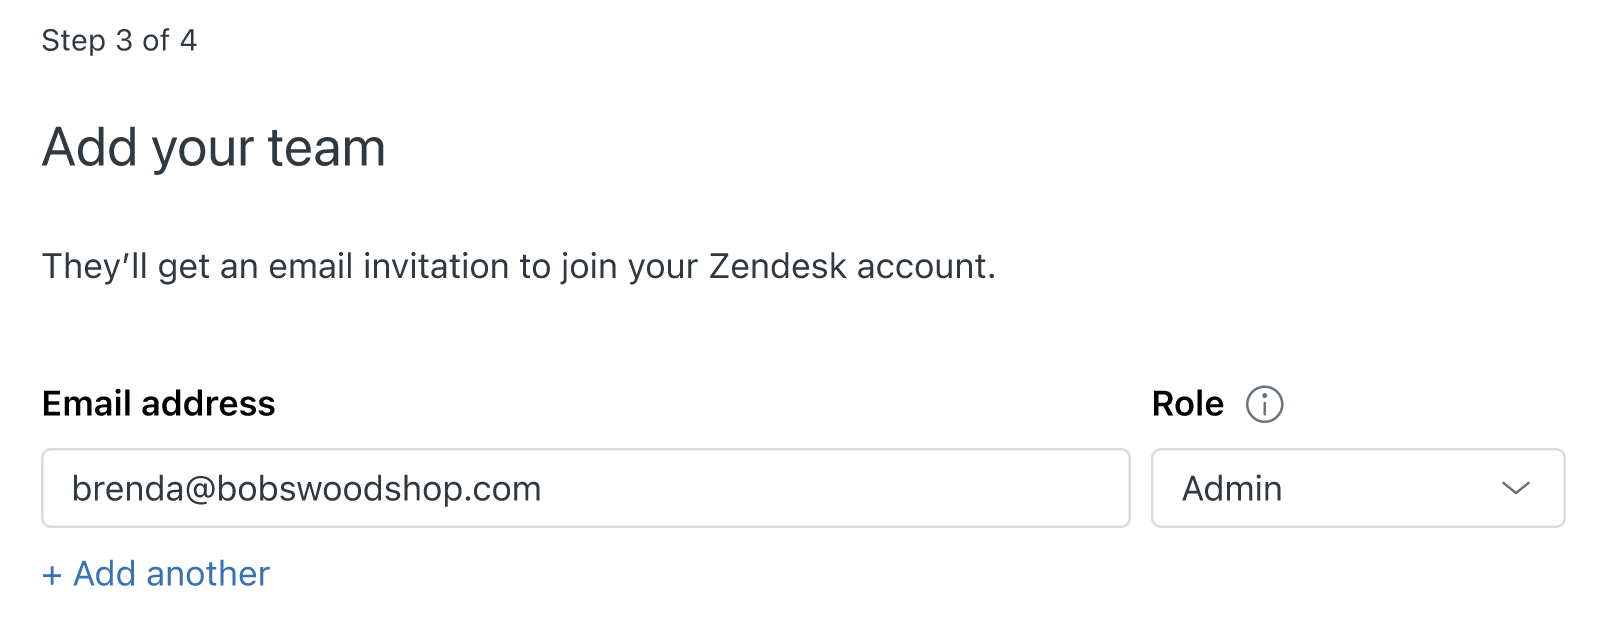
Step 3: Add team members (optional)
As part of the setup, you can add up to 4 additional team members to your account. Team members act as agents and admins to help you manage support requests. You can skip this step and add team members later. To learn more, see Adding agents and admins.
To add team members
- Enter an Email address for your team member.
- Select a Role for the team member.
Agents work with tickets and reply to customer requests. Admins can work with tickets and also manage account settings.
- Click +Add another to include more team members.
You can add up to 4 additional team members in a trial account for a total of 5 people (4 team members and you).
- When you’ve finished adding team members, click Send invite.
Your team members will receive an email invitation to join your Zendesk account.
Step 4: Connect your support email
The final step is to connect your support email to start receiving support requests from your customers. There are multiple ways to connect your support email, depending on your preferences and your email provider.
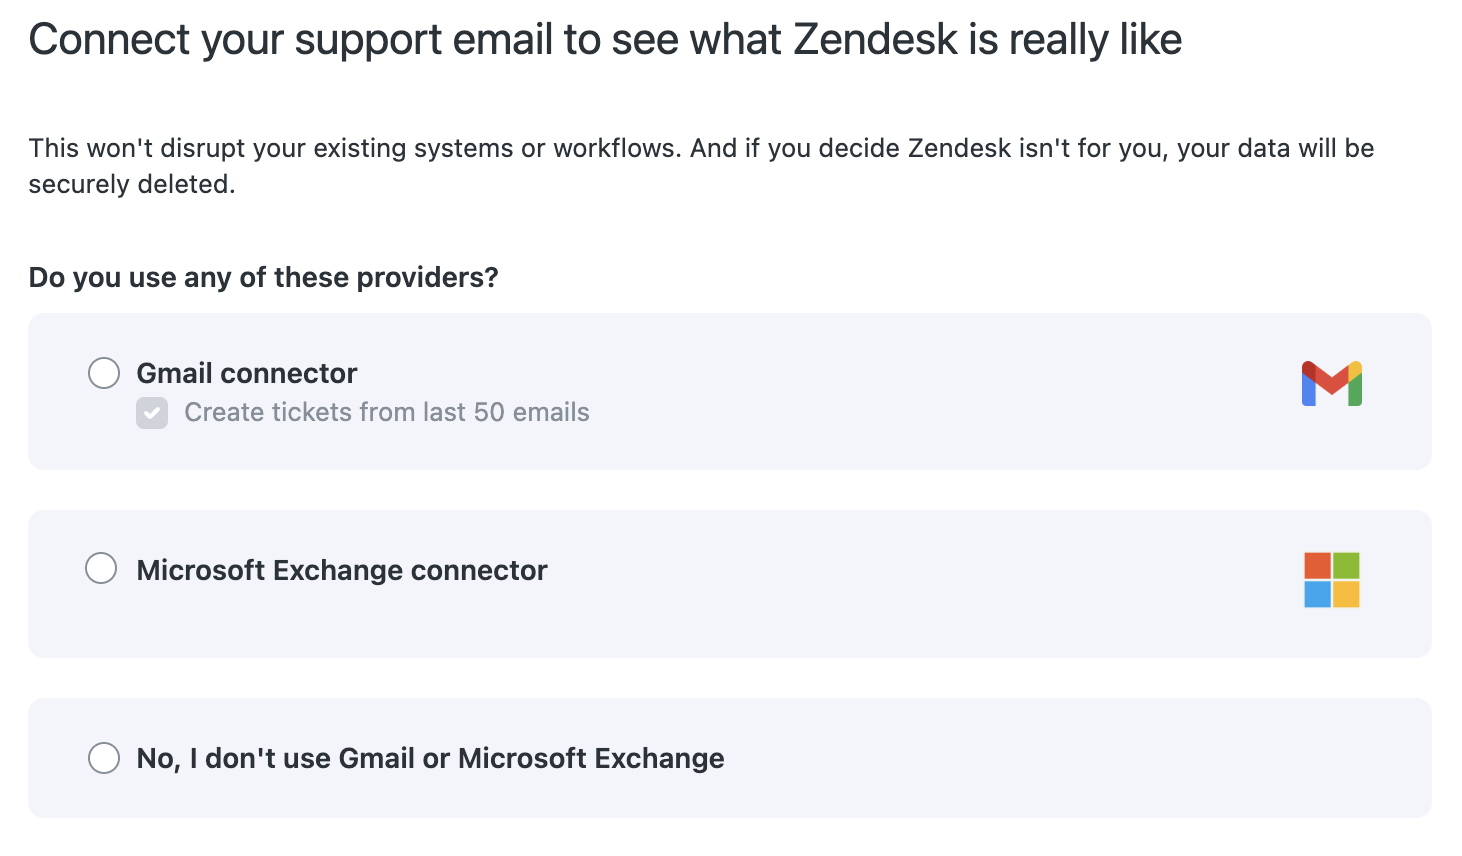
If you’re not ready to connect your email at this time, click Skip. You’ll be prompted later to connect.
- Connect with Gmail
- Connect with Microsoft Exchange
- Connect with email forwarding
- Connect with a Zendesk email address
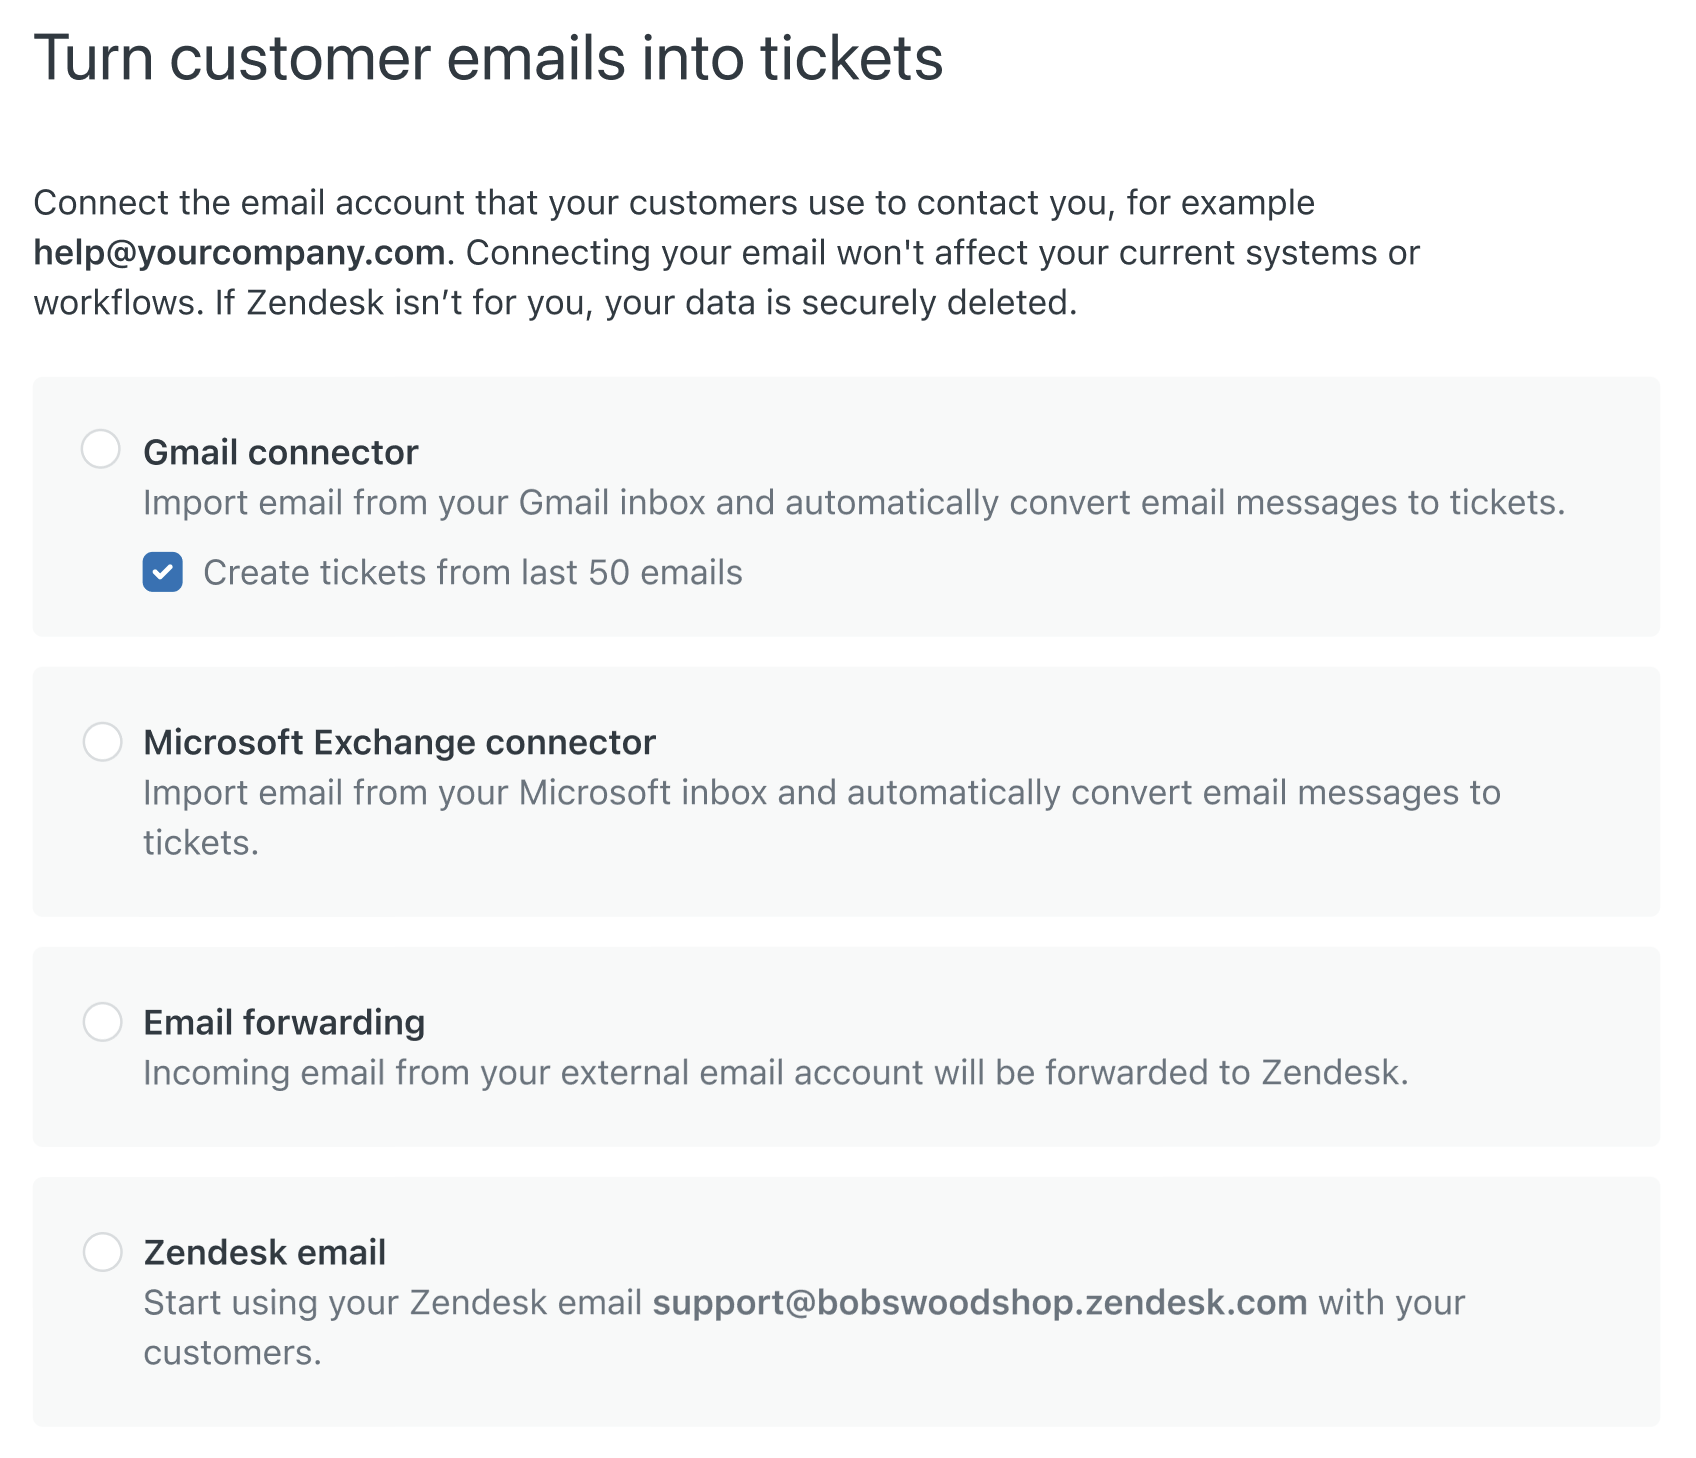
Email setup options
Connect with Gmail
You can import email from one or more Gmail inboxes and automatically convert email messages to tickets. This option is useful if you’re a small business with low email traffic. Google limits daily sending to 500 messages for Gmail or 2000 for Google Apps. To learn more, see Connecting to your Gmail account.
To connect with Gmail
- When the Connect your support email page appears, click Gmail.
- Click Next.
- Choose the Gmail account you want to connect to.
- Click Continue to sign in to Zendesk Connector for Email.
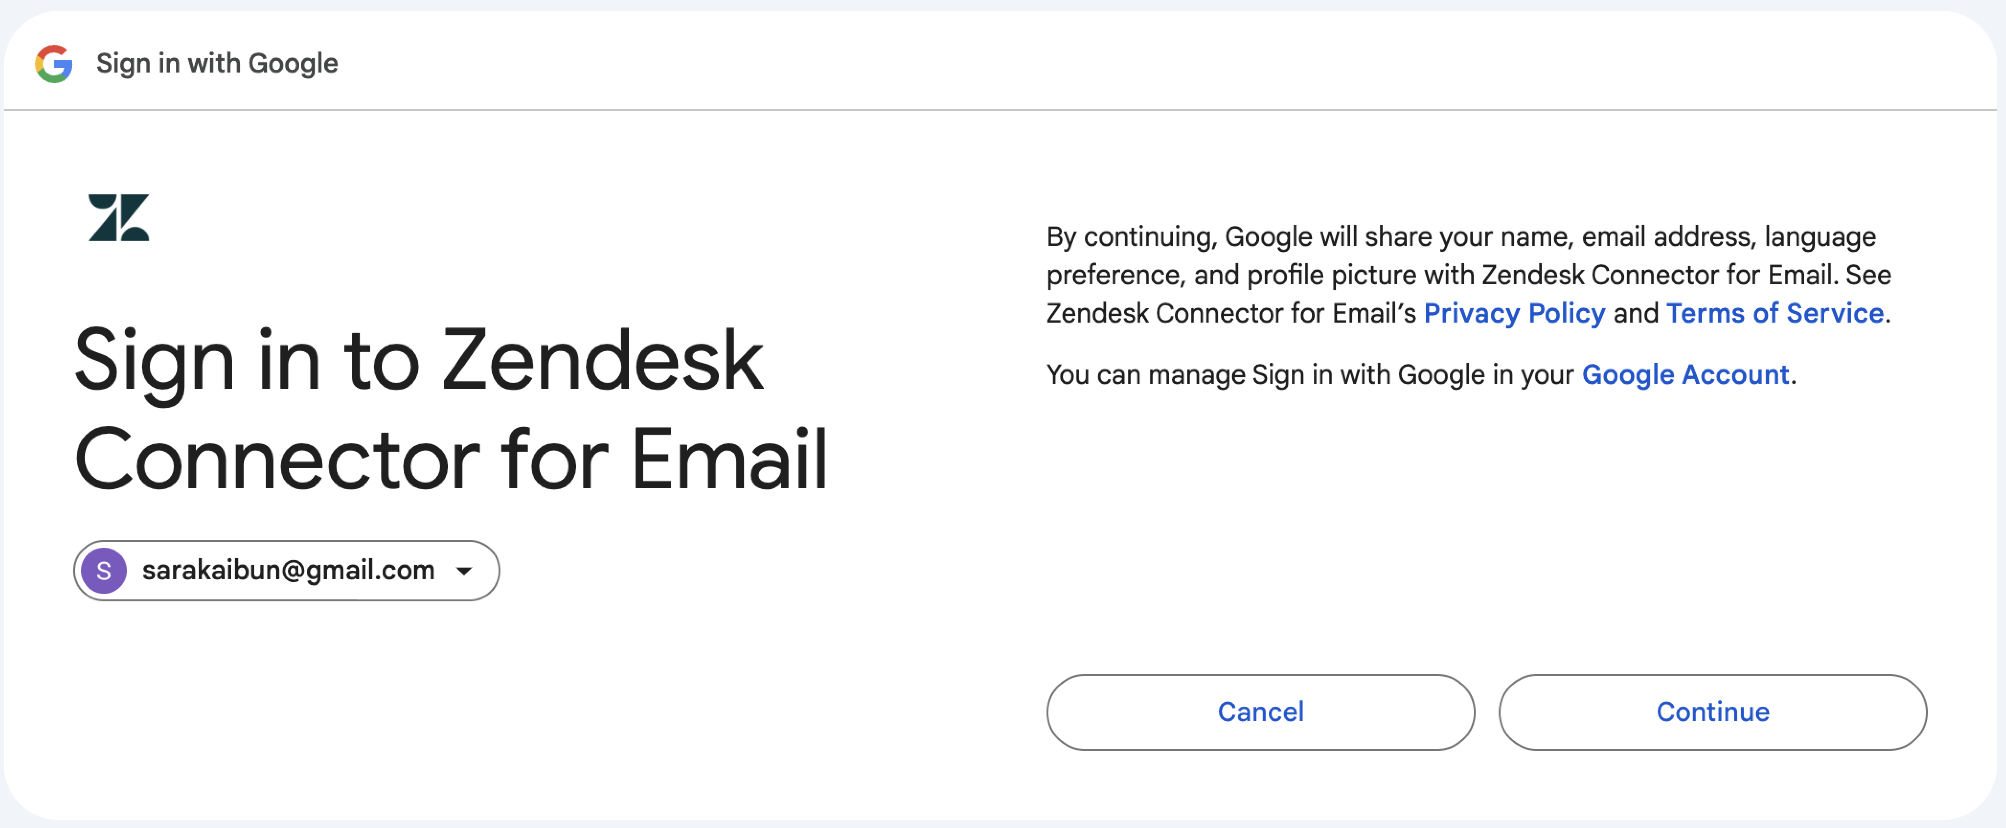
- Check the box to Read, compose, and send emails from your Gmail account.
- Click Continue.
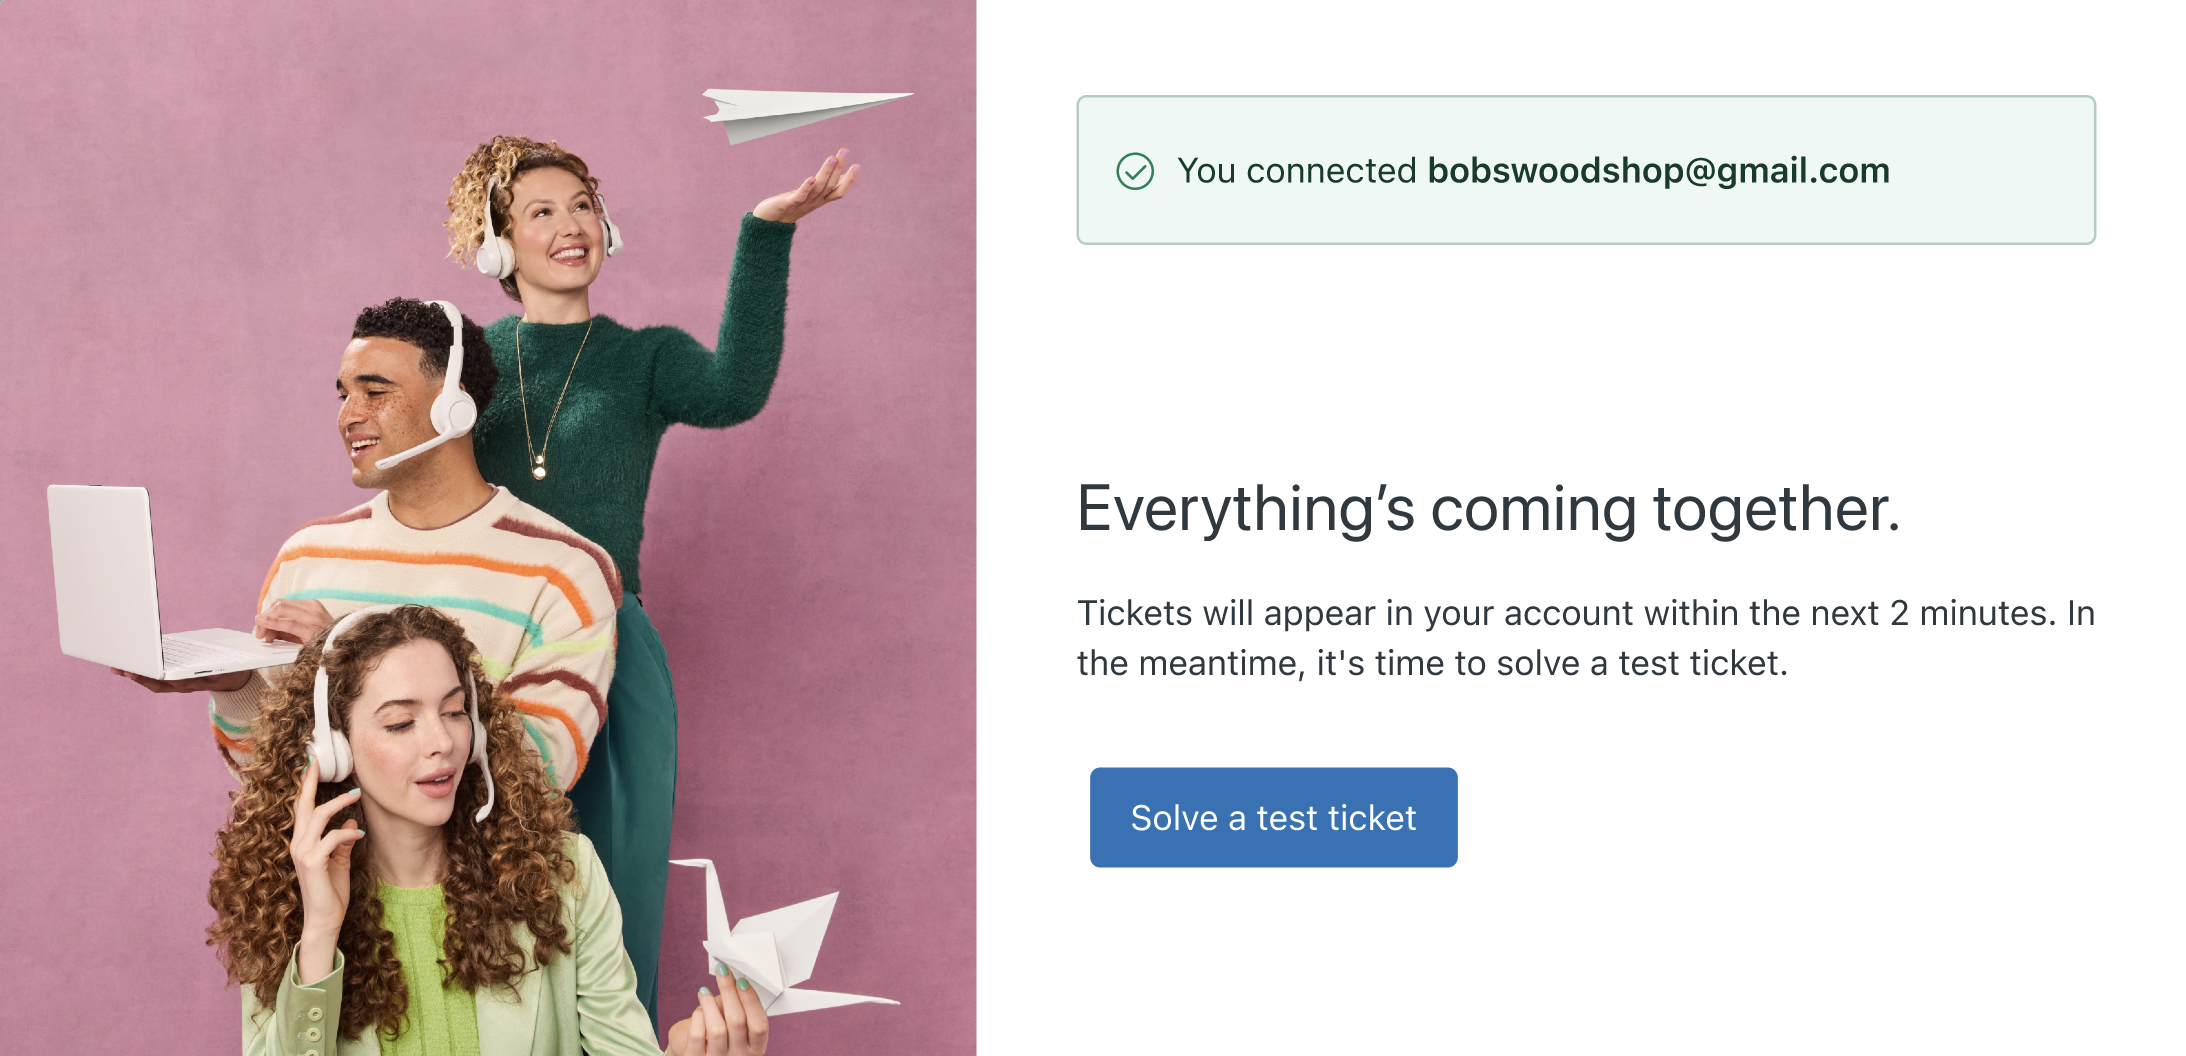
A message appears to show your email is connected.
Once your email setup is complete, find out more about Zendesk by solving a test ticket. See Solve a test ticket.
Connect with Microsoft Exchange
The Microsoft Exchange connector allows you to connect your non-Zendesk email servers, based on Microsoft Exchange, directly to your Zendesk Support instance. To learn more, see Connecting your Microsoft Exchange account to Zendesk.
To connect with Microsoft Exchange
- When the Connect your support email page appears, click Microsoft Exchange.
- Click Next.
- You may need to sign in to Microsoft using your account credentials.
Enter your email address and password.
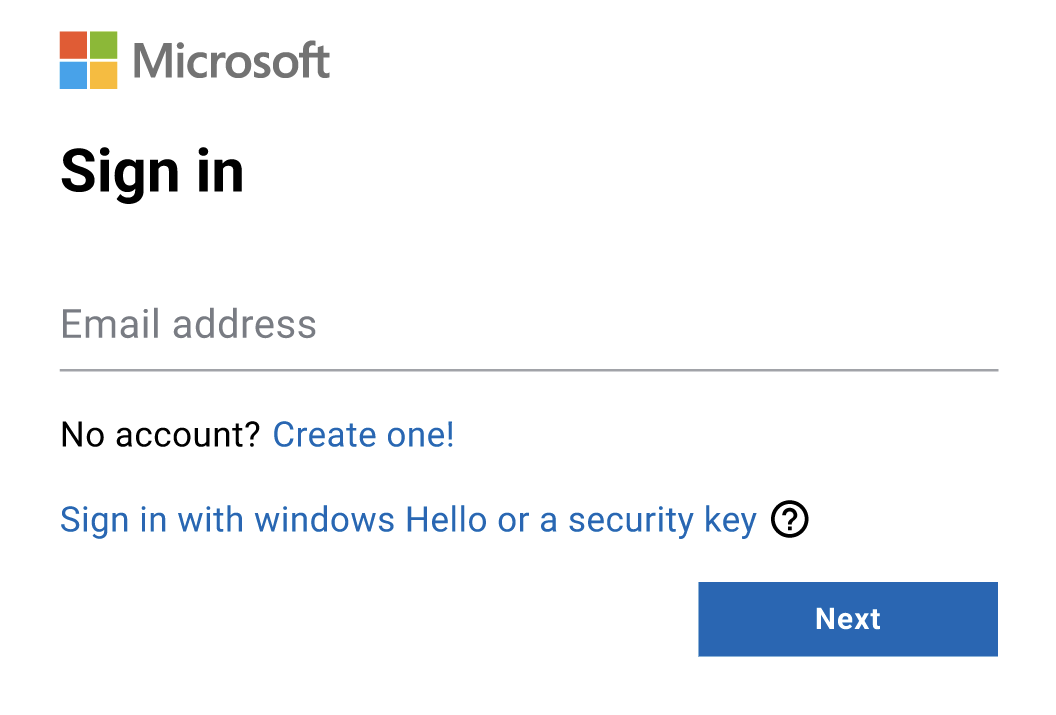
- Click Next to sign in to Zendesk Connector for Email.
- Click Accept to approve access to the email account.
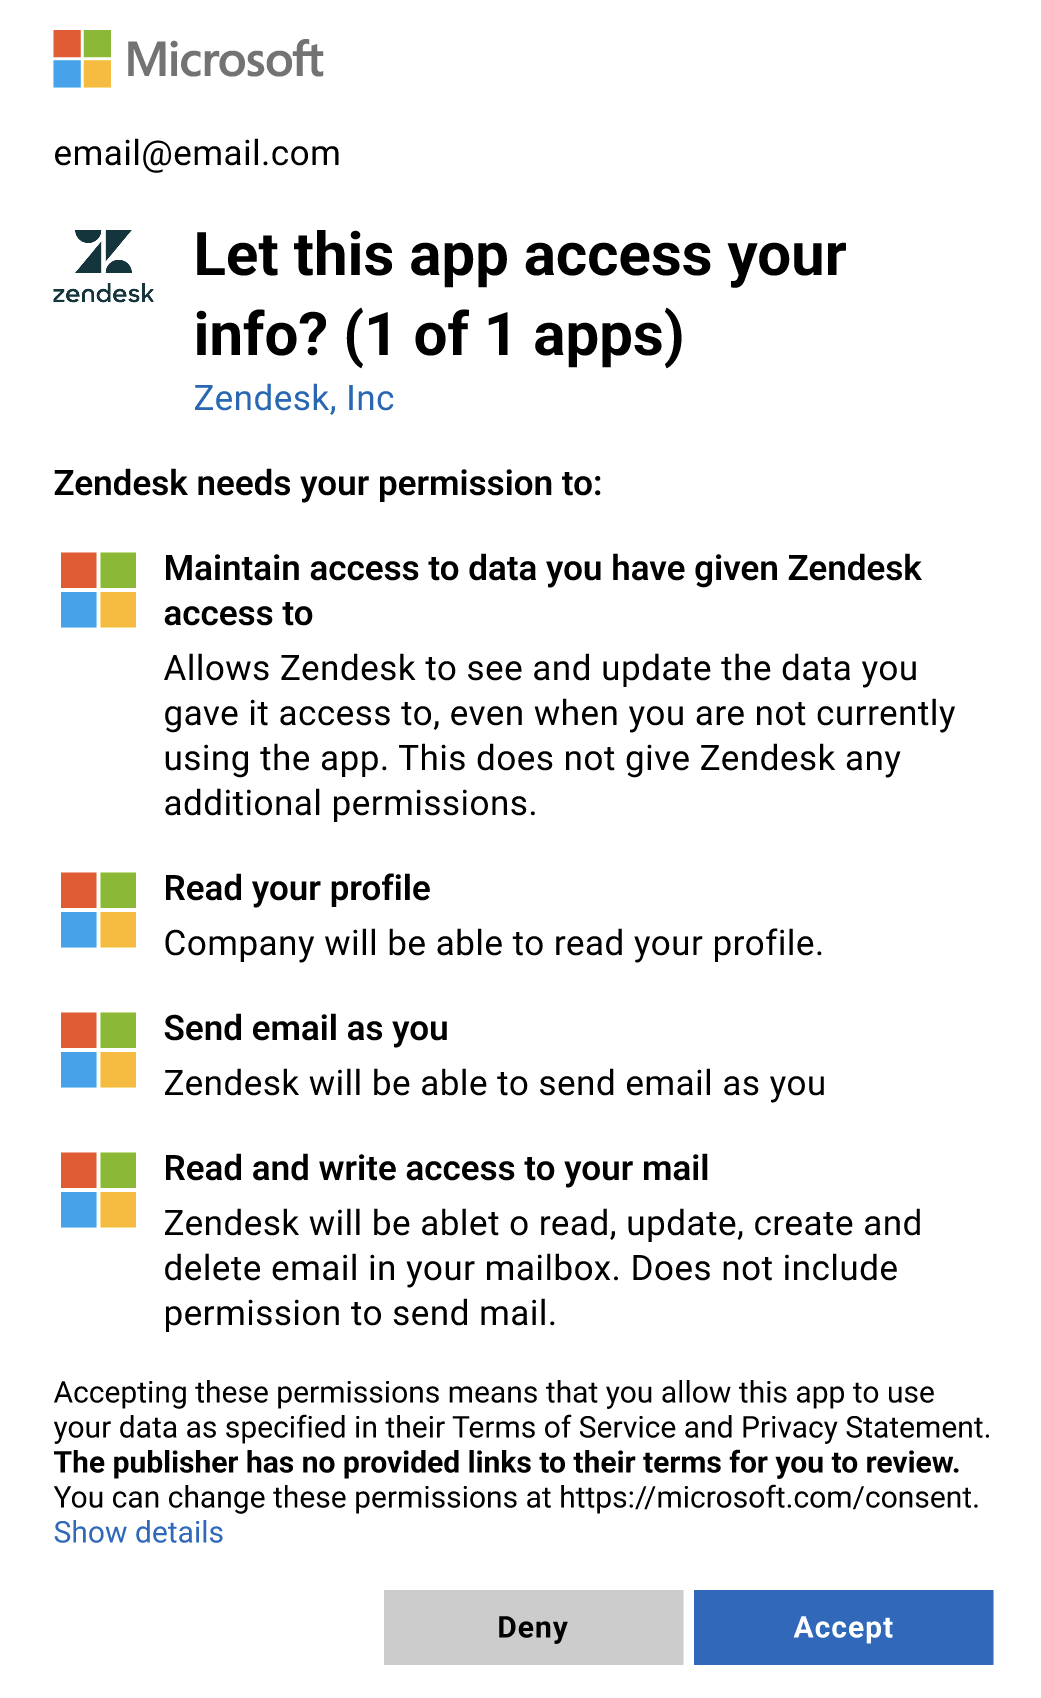
A message appears to show your email is connected.
Once your email setup is complete, find out more about Zendesk by solving a test ticket. See Solve a test ticket.
Connect with email forwarding
In another email connection option, you can receive support requests at an external email address and forward the incoming email to Zendesk. In turn, Zendesk can send email replies to your customers via your external email address. To learn more, see Forwarding incoming email.
To connect with email forwarding
- Select Email forwarding when you see the email setup options.
- Click Next.
- Enter your email support address.
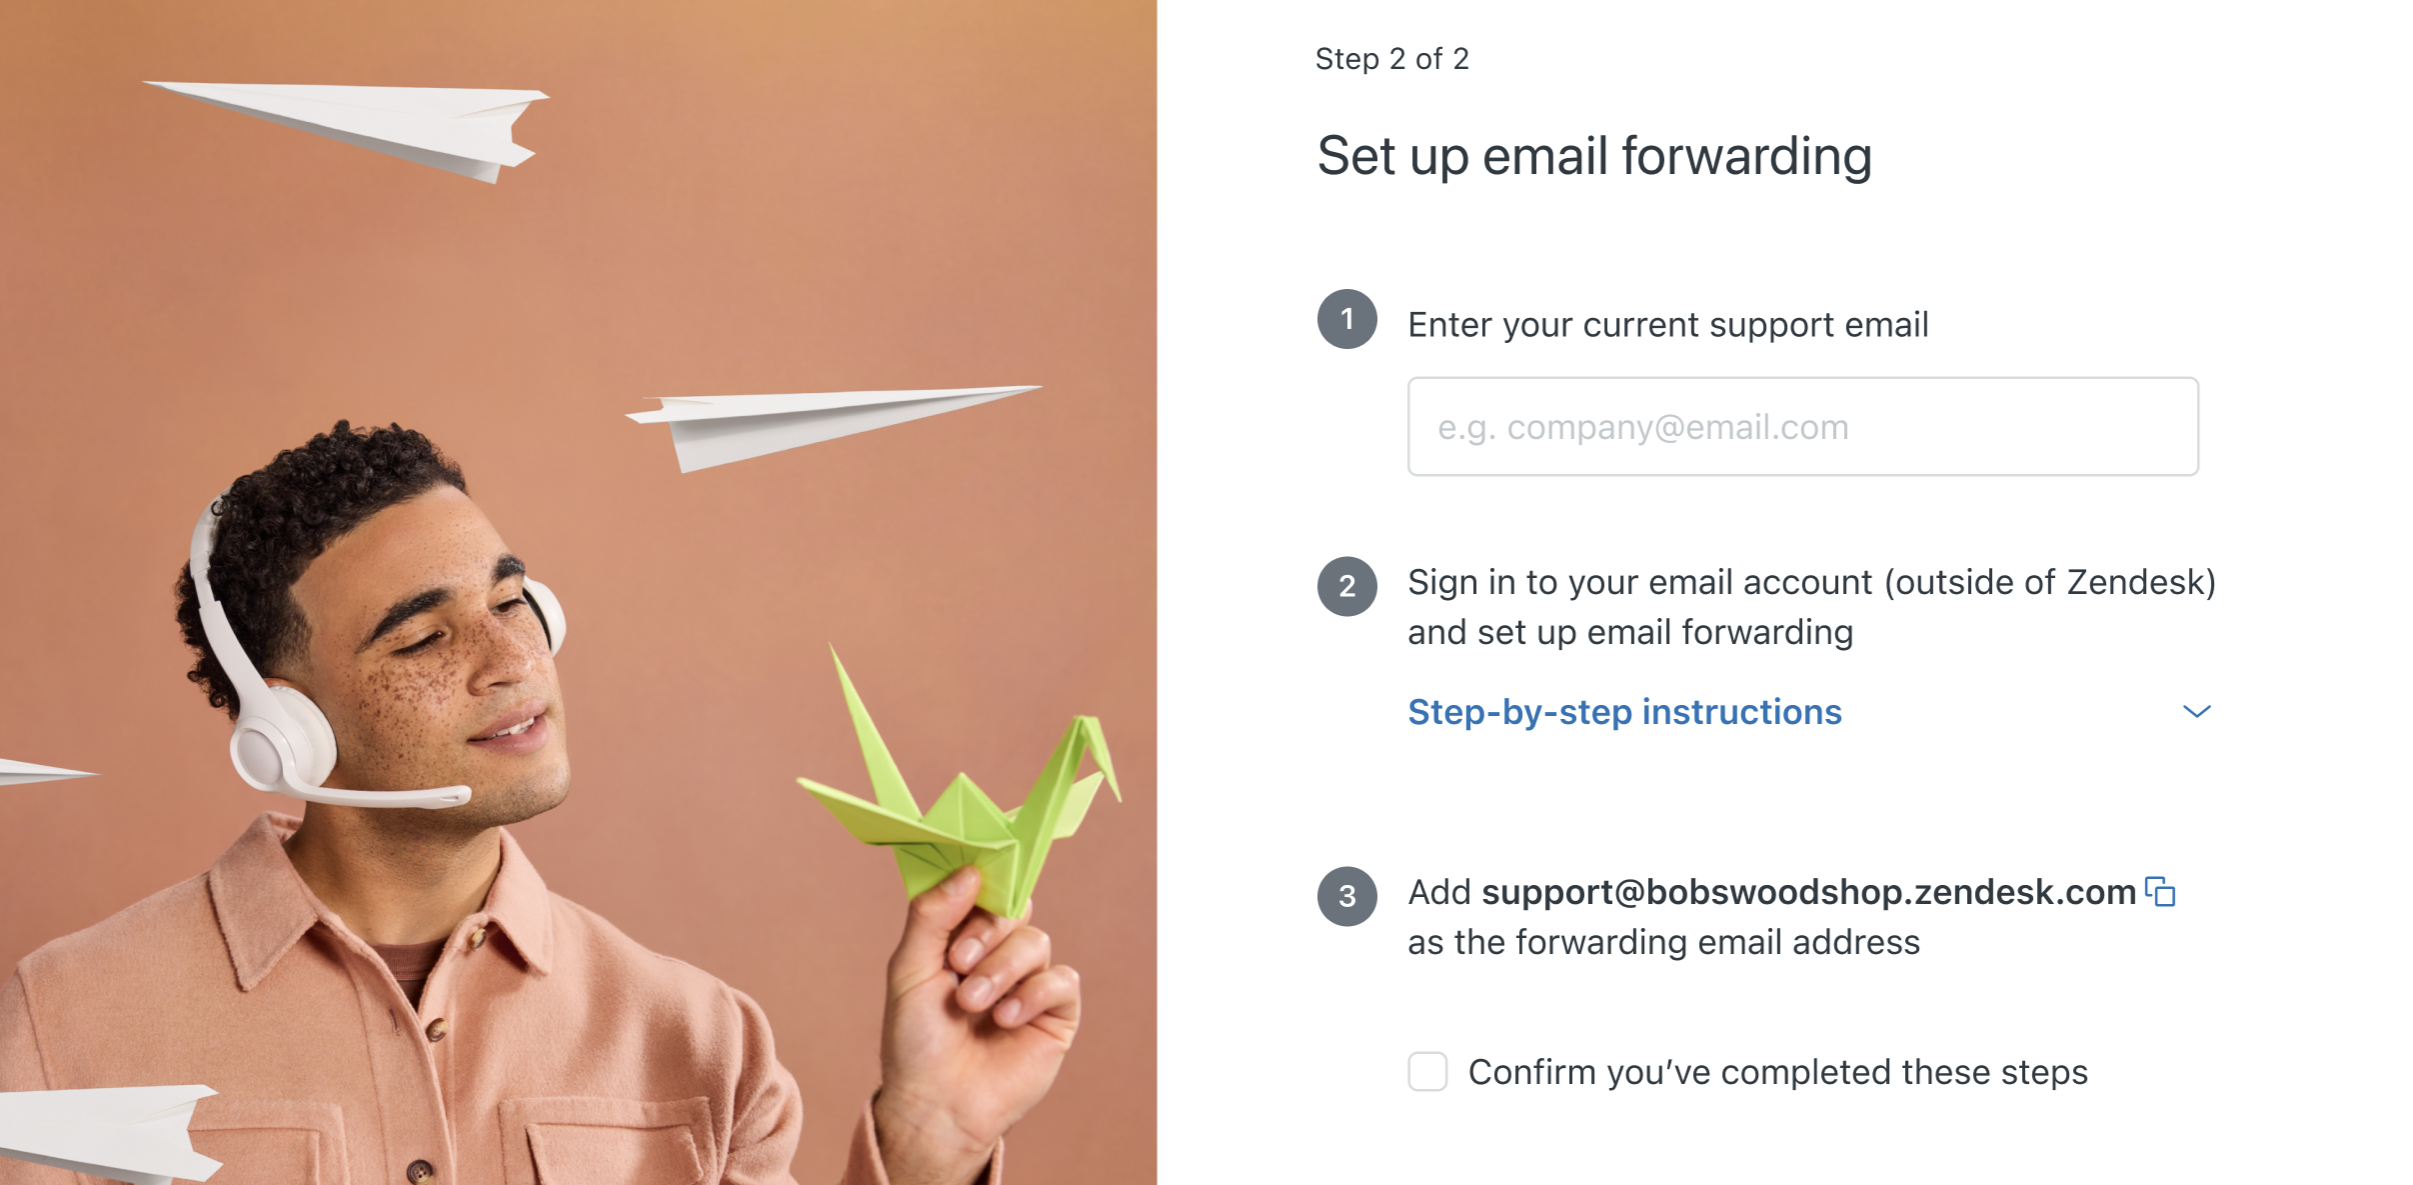
- Click Next.
A list of step-by-step instructions appear, based on your email provider.
- Select your email provider.
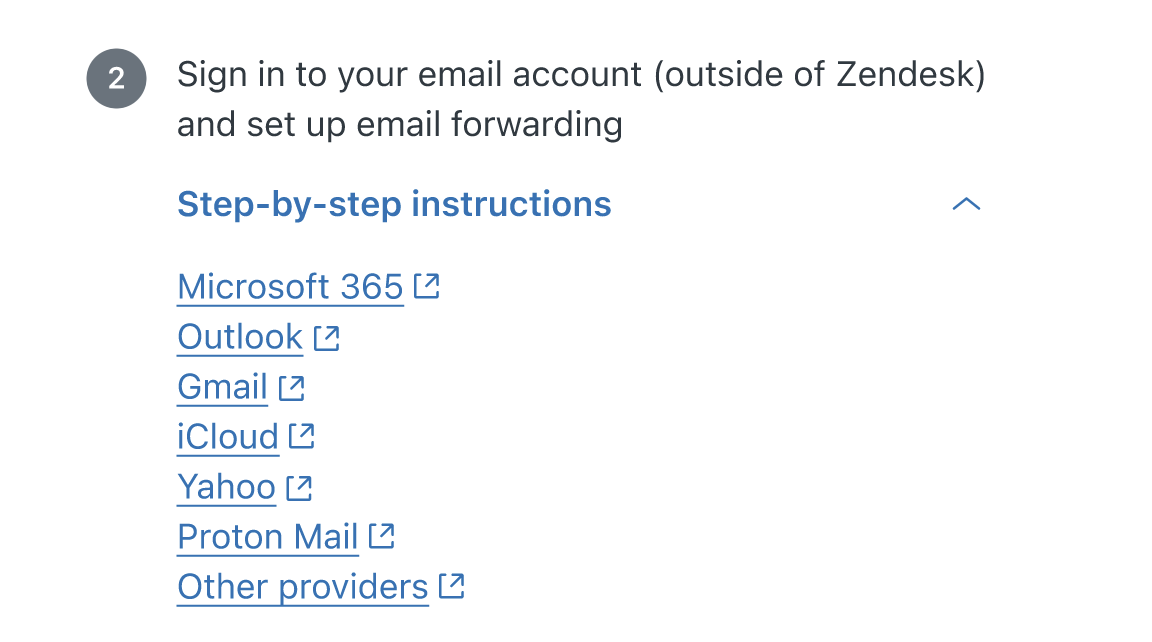
If your provider isn’t listed, select Other providers.
- Complete the on-screen steps to set up forwarding on your email server.
This is done outside of Zendesk. The exact steps depend on your mail server.
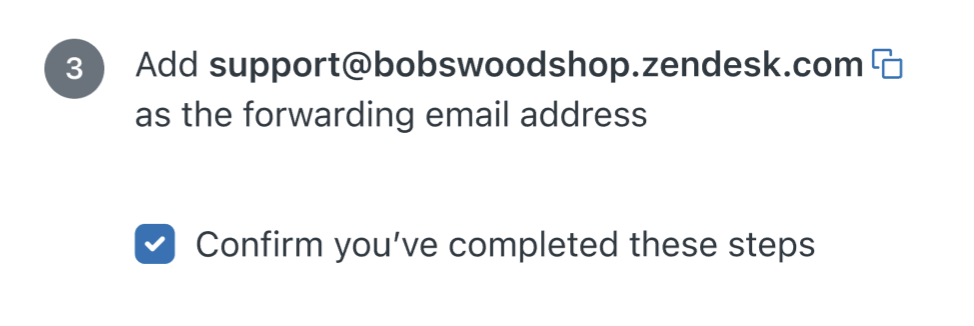
The email forwarding wizard instructs you to enter your default support address as the forwarding email address (support@yoursubdomain.zendesk.com).
- After you set up email forwarding on your server, select Confirm you’ve completed these steps.
- Click Next.
Wait a few minutes while Zendesk checks your setup. When the verification is complete, a message appears to show your email is connected.

Once your email setup is complete, find out more about Zendesk by solving a test ticket. See Solve a test ticket.
Connect with a Zendesk email address
One of the easiest ways to connect your email is to use a Zendesk support email address. Customers can send their requests directly to the default Zendesk support email address created for your account. To learn more, see Understanding the default email setup.
To connect with a Zendesk support email address
- Select Zendesk email when you see the email setup options.
- Click Next.
You’re all set. A message appears showing you the Zendesk support email address your customer can use to send requests.

- Click Done.
Once your email setup is complete, find out more about Zendesk by solving a test ticket. See Solve a test ticket.
Solve a test ticket
Once your email is connected, email requests sent from your customers automatically appear as tickets in the Support ticket interface. As part of the setup wizard, you can view and solve a test ticket. To learn more, see Working with tickets.
When you’re done connecting email, you’ll see an invitation to solve a test ticket.
To solve a test ticket
- Click Solve a text ticket.
The setup wizards opens to show a sample ticket in the agent interface.
- Follow the onscreen instructions to:
- Apply a macro to reply to the customer’s request, or type your own reply.
-
Submit the ticket as pending.
When you submit the ticket, your reply is added to the ticket conversation and Zendesk automatically sends the reply to your customer via email.
Wrapping up
Congratulations! You’re ready to start using Zendesk.
A Setup guides screen appears with other Zendesk channels and features you can set up, including chats and messages, voice, and AI agents. You can also view these guides by clicking View all setup guides at the top of your trial account. To learn more, see About Zendesk channels.

| Feature | Learn more |
|---|---|
| Messaging | Getting started with Messaging |
| Knowledge | Getting started with Guide |
| AI agents | Getting started with Zendesk AI and Copilot |
| Voice | Getting started with voice support |
| Analytics | Getting started with Zendesk Explore for reporting and analytics |
0 comments
Please sign in to leave a comment.